DIY Cost Finder

Real cost breakdowns for home projects — as an Amazon Associate we earn from qualifying purchases, but the numbers are ours.

Category: Plumbing

Cost guides for plumbing and water system projects.

  • Toilet Installation Cost: Replacement, Relocation and Rough-In (2026)

    Toilet Installation Cost: Replacement, Relocation and Rough-In (2026)

    A straight toilet swap — same spot, same rough-in, no surprises under the old one — is one of the cheapest plumbing jobs a licensed pro will do, and one of the few that a lot of homeowners handle themselves. Most people pay $250 to $800 all-in for a standard replacement, with the fixture itself and the labor to set it splitting that range roughly in half. Moving the toilet, dealing with a damaged flange, or stepping up to a wall-mounted or upflush unit changes the math considerably.

    What You’re Actually Paying For

    A toilet installation quote is really two line items: the fixture and the labor to set it. The toilet itself ranges from about $100 for a basic two-piece to $400-$600 for a good one-piece or comfort-height model, and up past $1,500 for a designer or smart toilet with a bidet seat built in. Labor for a straight swap runs $150 to $450 — plumbers price it as a flat job more often than by the hour, since a competent installer can pull an old toilet and set a new one in under two hours.

    One-piece toilets cost more than two-piece up front but have no seam between tank and bowl to trap grime, and they’re a few pounds lighter to maneuver alone, which matters if you’re doing this yourself. Comfort-height (also sold as ‘ADA height’ or ‘right height’) toilets sit about 2 inches taller than standard — worth paying for if anyone in the house has knee or hip issues, and it’s become close to the default height in newer toilets regardless.

    Toilet Type Fixture Cost Typical Installed Cost
    Standard two-piece $100 – $250 $250 – $500
    One-piece $300 – $600 $450 – $800
    Comfort/ADA height $200 – $450 $350 – $700
    Wall-mounted (in-wall tank) $500 – $1,200 $1,500 – $3,500
    Upflush / macerating $400 – $900 $900 – $1,800

    What Pushes the Price Up

    The rough-in — the distance from the wall to the center of the drain, almost always 12 inches but sometimes 10 or 14 in older houses — has to match the toilet you buy or it won’t sit against the wall right. That’s a measuring problem, not usually a cost problem. The real cost drivers are underneath the old toilet, where nobody looks until it’s off.

    • Moving the toilet’s location means rerouting the drain line and vent stack, not just the fixture — add $500 to $1,500+, and in most places it needs a permit and an inspection because you’re altering the drain-waste-vent system.
    • A cracked or corroded flange (the ring the toilet bolts to) is common on any house over 20 years old and adds $150–$350 to repair or replace before the new toilet can go on.
    • Water damage under the old toilet — from a wax ring that failed slowly rather than all at once — can mean subfloor repair at $8 to $24 per square foot, discovered only once the fixture is pulled.
    • An old supply valve that won’t fully shut off, or is seized, is a $20–$75 part but forces a water-main shutoff and adds time to the job.
    • Wall-mounted and upflush toilets cost more to install than to buy: wall-mounted needs an in-wall carrier frame built into the wall cavity, and upflush units need a macerating pump wired to a dedicated circuit.

    Is This a DIY Job?

    A straight swap is genuinely one of the more approachable DIY plumbing jobs: shut the supply valve, drain and disconnect the old toilet, unbolt it from the flange, scrape off the old wax ring, set a new ring, bolt down the new toilet, and reconnect the supply line. Most people who’ve done basic home repairs before can do it in an afternoon with under $50 in parts beyond the toilet itself.

    The two mistakes that turn a DIY job into a service call: not measuring the rough-in before buying (a toilet built for a 12-inch rough-in simply won’t sit right on a 10-inch one), and over-tightening the closet bolts, which is the single most common way DIYers crack a toilet base — snug and even beats hard on both sides.

    Call a plumber instead if the flange is broken, below the level of the finished floor, or you’re moving the toilet to a new spot. All three turn a bolt-down job into cutting into the drain-waste-vent system, which is where permits, inspections, and actual plumbing skill start to matter.

    If You’re Taking the DIY Route

    Everything below is for a straight swap onto an existing, undamaged flange — the job described above as genuinely DIY-friendly.

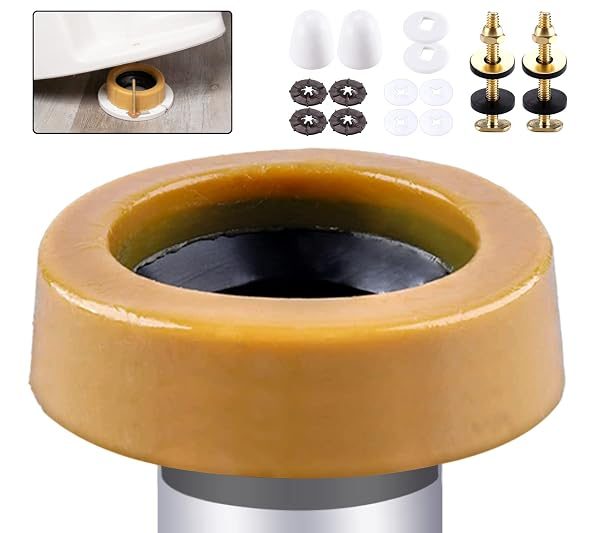
    • Extra Thick Wax Ring Kit with Bolts & Caps — An extra-thick wax ring is more forgiving than a standard one if your flange sits slightly below the finished floor, which is common after a flooring upgrade — it seals the gap that a standard-thickness ring won’t reach.
    • Compare current toilets — Confirm your rough-in measurement first, then filter by that number — a 12-inch rough-in covers the large majority of American houses, but it’s worth measuring rather than assuming.
    • Toilet installation tools — A basin wrench, an adjustable wrench, and a putty knife for scraping the old wax ring cover everything this job needs beyond what’s already in most toolboxes.

    Stop and call a plumber if the flange is cracked, sitting below the finished floor, or you’re relocating the toilet — any of those means opening up the drain line, which is a different job with a permit attached in most municipalities.

    The number worth confirming before you buy anything is the rough-in distance, not the price. A toilet that’s a perfect match for the room but wrong for a 10-inch rough-in will not fit flush against the wall no matter how good the installer is, and that mistake shows up after the toilet’s already unboxed. Measure from the wall to the center of the two closet bolts on the old toilet, and buy to that number.

    More Cost Guides

  • Water Softener Installation Cost by Grain Capacity (2026)

    Water Softener Installation Cost by Grain Capacity (2026)

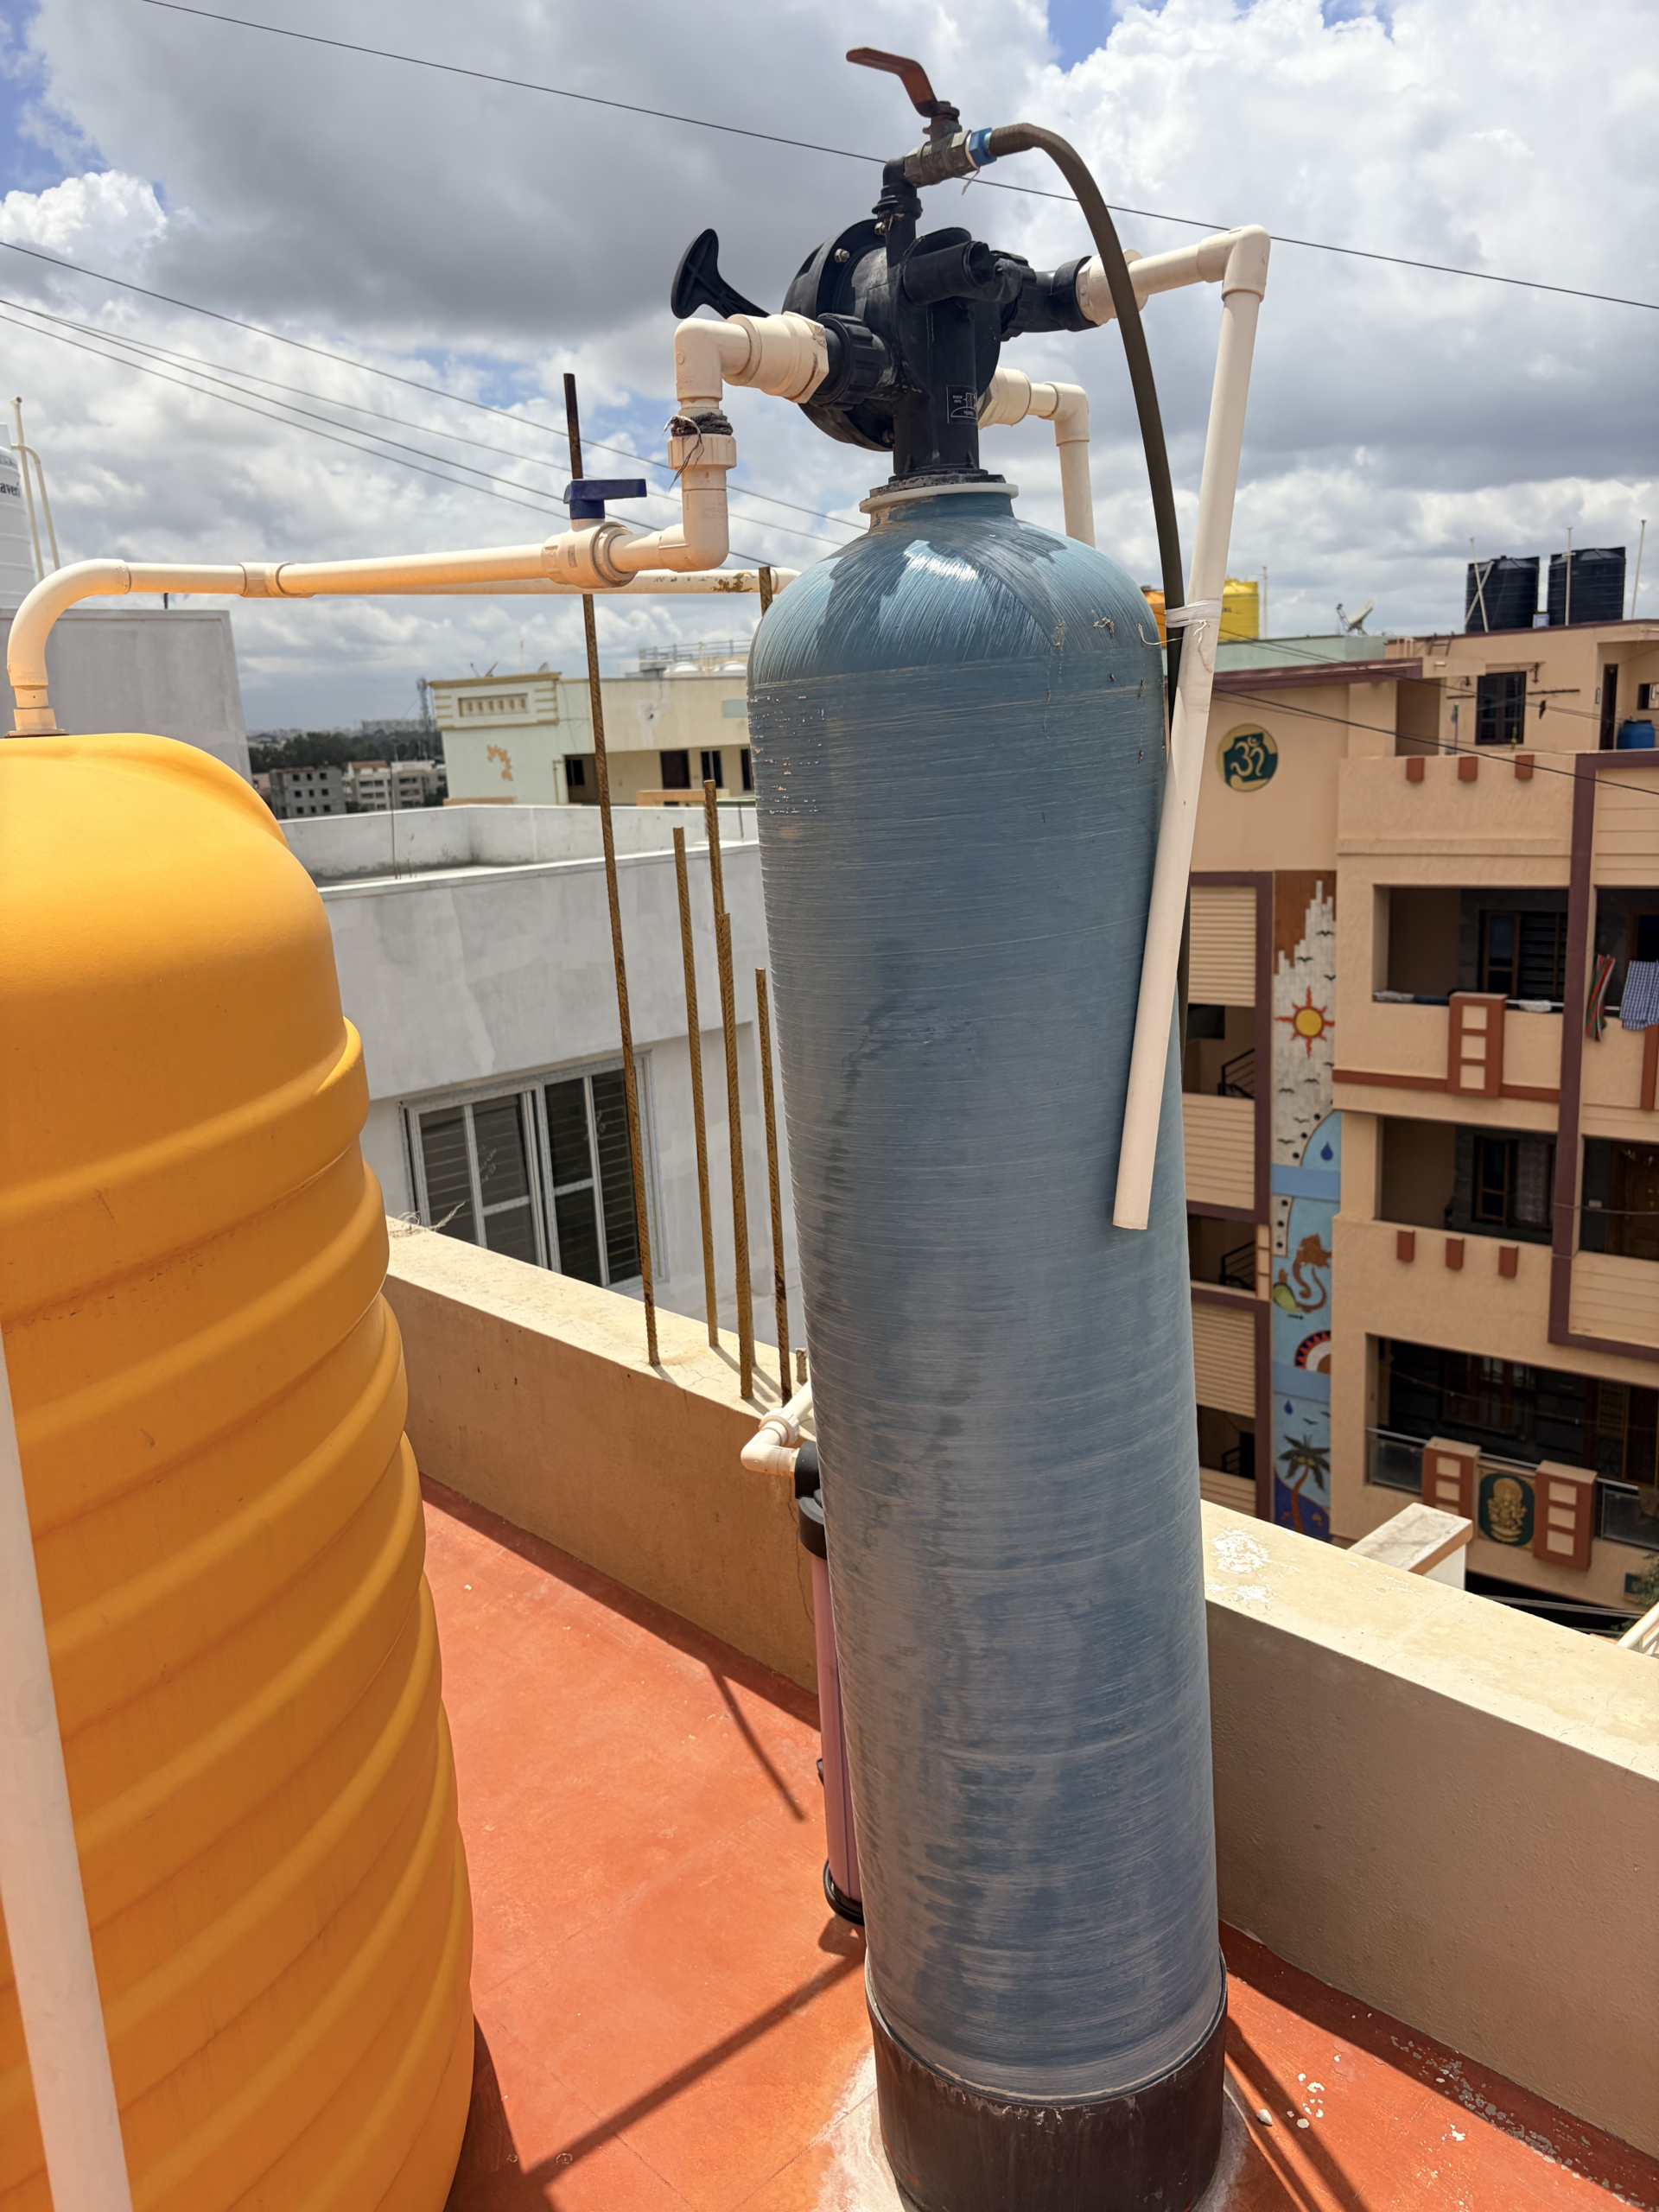
    A water softener install runs anywhere from a few hundred dollars to well over five figures, and almost all of that spread comes down to which technology you pick and whether you’re paying someone to run new plumbing and a drain line or doing it yourself. This guide breaks down cost by softener type, what a professional install actually bills for beyond the unit itself, and where the job is realistic to take on yourself.

    Cost by System Type

    Salt-based ion exchange is still the standard for actually removing hardness minerals rather than just changing their behavior, and it’s the baseline most of these prices are built around. Salt-free conditioners skip the salt and the drain line requirement, which simplifies installation, but they condition minerals rather than removing them and can struggle with very hard water. Dual-tank systems cost more up front because you’re buying two resin tanks instead of one, but you get continuous soft water during regeneration instead of a window of untreated water while the single tank cycles.

    System Type Equipment Cost Typical Installed Total
    Salt-based single-tank $700 – $2,000 $1,200 – $2,900
    Salt-free conditioner $800 – $2,500 $1,300 – $3,200
    Dual-tank (salt-based) $1,800 – $3,500 $2,500 – $4,500
    Whole-home high-capacity / commercial-grade $3,000+ $4,000 – $11,000+

    What’s Actually in a Professional Install

    Labor typically runs $150–$1,000, with most straightforward jobs landing around $500–$700. What that covers: cutting into the main supply line, plumbing in a bypass valve so you can service the unit without shutting off water to the whole house, running a drain line for the regeneration cycle (usually to a nearby floor drain, standpipe, or utility sink), and in some cases an electrical outlet near the unit for the control head. A job that needs new plumbing runs, an added drain where none exists, or work on older galvanized supply lines will land at the higher end or beyond it.

    Sizing It Correctly

    Undersizing is the most common expensive mistake — a system that regenerates too often burns through salt and shortens the resin’s working life. Sizing is based on grains of hardness removed per day, which is your household’s daily water use multiplied by your water’s hardness in grains per gallon (GPG). A family of four using around 300 gallons a day with moderately hard water (10 GPG) needs roughly 3,000 grains of daily capacity, which points toward a 32,000–48,000 grain system with normal regeneration frequency rather than a 24,000 grain unit running through cycles every couple of days.

    Get your water tested (a local water utility report or a cheap test strip kit will do for a ballpark) before buying anything — guessing at hardness is how people end up with a system that’s the wrong size in either direction.

    If You’re Taking the DIY Route

    Installing a water softener yourself is realistic if you’re comfortable with basic plumbing and your home already has a straightforward supply line to tap into — modern push-to-connect fittings mean you often don’t need to solder copper at all. It’s not a beginner’s first plumbing project, but it’s well within reach for anyone who’s done a water heater or fixture swap before.

    • AFWFilters 48K Grain Fleck 5600 SXT Water Softener (Complete System) — The Fleck 5600 SXT is the system most DIY plumbing guides build around — it ships as a complete unit with the bypass valve and brine tank included, and the digital metered control is well documented online if you need to troubleshoot the setup later.
    • Compare push-to-connect fittings — Push-fit fittings let you tie into copper, PEX, or CPVC supply lines without soldering or solvent welding, which is what makes a weekend DIY install realistic for most people.
    • Compare drain line air gap kits — Code in most areas requires an air gap on the drain line so wastewater can’t siphon back into the softener — cheap to add during install, a real problem to retrofit later if an inspector flags it.

    Call a licensed plumber if your home doesn’t already have an accessible shutoff near the intended install point, if you’re on well water with iron or sediment issues that need a pre-filter, or if your local code requires a permit and inspection for the drain connection — pulling a permit after the fact for water treatment equipment is more expensive than getting it upfront.

    Whatever system you land on, check your municipal or HOA rules before you buy — a growing number of areas restrict or ban salt-based softener discharge into the sewer system because of downstream sodium levels, which would push you toward a salt-free conditioner or a potassium-chloride alternative regardless of which one you’d otherwise prefer on performance alone.

    More Cost Guides

  • Tank vs. Tankless Water Heater Cost: The 20-Year Math by Household Size (2026)

    Tank vs. Tankless Water Heater Cost: The 20-Year Math by Household Size (2026)

    Your water heater dies on a Tuesday and suddenly you’re making a decision you didn’t plan to make: swap in the same tank you had, or spend more upfront on a tankless unit that’s supposed to pay you back later. Both are legitimate choices. Here’s the real math so you’re not guessing under pressure with a plumber standing in your basement.

    Bottom line

    $600 – $5,600 installed

    A like-for-like tank swap: $600-$3,100 (most land $900-$1,800). A tankless upgrade: $1,400-$5,600 (most land $3,000-$4,500).

    Two Honest Options, Not a “Right Answer”

    This isn’t a case where one option is secretly better and installers are hiding it from you. Both are real, defensible choices:

    • Quick tank swap: cheaper upfront, faster (usually done same day), and a fine choice if you’re not planning to stay in the house long or don’t want to spend more right now.
    • Tankless upgrade: costs more to install, but lasts almost twice as long (15-20 years vs. 8-12 for a tank) and saves $100-$200 a year in energy. Over 20 years, the numbers usually tilt toward tankless being cheaper overall once you count a tank’s replacement cycle.

    Neither of these is a DIY project, for what it’s worth — you’re dealing with gas lines, 240V electrical circuits, or both, plus code-required venting. This is one of the few areas where “just do it yourself to save money” is a genuinely bad idea, not just an inconvenience. Get a licensed plumber either way; the decision that’s actually yours to make is tank vs. tankless, not DIY vs. professional.

    Find Your Number

    Household Tank Swap (installed) Tankless (installed)
    1 bath, 1-2 people $600 – $1,400 $1,400 – $2,800
    2 bath, 3-4 people $900 – $1,800 $2,800 – $4,000
    3+ bath, 5+ people $1,200 – $3,100 $3,500 – $5,600

    Tankless sizing is really about peak flow rate (GPM), not headcount — a house running two showers and a dishwasher at once needs more capacity than the math above assumes. A plumber will size it off your actual fixture count, not a household-size chart. Undersizing is the single most common tankless mistake: it shows up as a lukewarm shower the second someone else turns on a faucet.

    Why Tankless Costs More to Install

    • Gas units need a two-pipe venting system and often a larger gas supply line (3/4″ minimum) — that alone is $350-$2,000, and can hit $2,000 if there’s no gas line at all yet.
    • Electric units often need a 200-amp panel and multiple dedicated 240V circuits. A panel upgrade runs $850-$1,700 on top of the unit and labor.
    • Labor alone is $600-$2,500 for 3-10 hours of work, more if venting or electrical work is involved.

    A tank swap almost never needs any of this if you’re replacing like-for-like in the same spot with the same fuel type — that’s most of why it’s so much cheaper to install. Nationally, a full gas tankless install (unit, venting, labor) now averages around $4,250 — most of that gap over a tank swap is the venting and gas-line work above, not the unit itself.

    The 20-Year Math

    This is the part that actually matters for the tank-vs-tankless decision, not just the sticker price:

    • Tank, 20 years: roughly $14,800-$20,800 total once you count two replacement cycles (tanks last 8-12 years, occasionally 15 with real maintenance) plus higher ongoing energy bills.
    • Gas tankless, 20 years: roughly $12,000-$18,000 total — one unit, lower energy bills, if you descale it periodically in hard-water areas.

    So tankless usually wins on total cost of ownership, but the gap isn’t dramatic, and it assumes you stay in the house long enough to see it play out and actually maintain the unit. If you’re selling in three years, the cheaper tank swap is the financially rational choice, not the “lesser” one.

    The Third Option Nobody Mentions: Heat Pump Water Heaters

    There’s a middle option most quotes won’t bring up unless you ask: a hybrid heat pump water heater. It pulls heat from the surrounding air instead of burning gas or using pure electric resistance, and runs $2,500-$6,500 installed — roughly in between a tank and a gas tankless. It’s the most efficient of the three by a wide margin, but it needs a decent-sized space with airflow (a small closet won’t cut it), produces cool exhaust air and some condensate drainage, and recovers hot water slower than tankless during heavy use. Worth asking about if efficiency matters more to you than upfront cost or recovery speed — just don’t assume the federal tax credit picture is the same as it was a year ago; incentive rules have shifted, so check your state energy office and utility for current rebates rather than relying on older articles.

    Practical Tips

    • Get quotes for both options, not just one. A plumber who only quotes tankless (usually a bigger job for them) or only quotes tank (less work to sell) isn’t necessarily giving you the full picture. Ask for both prices.
    • Ask what “installed” includes. Permits, gas line or panel upgrades, and disposal of the old unit sometimes get itemized separately after the fact. Get it all in one written quote.
    • Don’t undersize a tankless unit to save money. A too-small unit that can’t keep up during peak use is a worse outcome than just buying a tank in the first place.
    • Check for rebates. Some utilities and states offer $50-$500+ rebates for efficient tankless or heat-pump water heaters — worth five minutes of searching before you buy either option.
    • Descale a tankless unit yearly in hard-water areas. Skipping this is the main reason tankless units fail early and don’t hit their 15-20 year lifespan.

    Costs above are national averages from current plumbing industry and contractor pricing data as of mid-2026. Actual pricing varies by region, local labor rates, and your home’s existing gas/electrical setup — get two or three written quotes from licensed plumbers covering both a tank and tankless option before deciding.

    Related Cost Guides

    More Cost Guides