DIY Cost Finder

Real cost breakdowns for home projects — as an Amazon Associate we earn from qualifying purchases, but the numbers are ours.

Author: DIY Cost Finder Team

  • Whole-House Generator Cost by kW and Transfer Switch (2026)

    Whole-House Generator Cost by kW and Transfer Switch (2026)

    Gas-line distance and electrical panel work set the $3,000 to $7,000 labor line inside a standby generator’s $9,600 to $23,300 installed total. A standby generator and a portable generator both keep your lights on in an outage, but they’re not the same purchase — one runs automatically and costs as much as a used car, the other costs a fraction of that and asks you to plug it in yourself. Knowing which one you actually need is most of this decision.

    Standby Generators: Installed Cost by Size

    A permanently installed standby generator — the kind that starts itself within seconds of an outage — runs $9,600 to $23,300 fully installed, including the unit, an automatic transfer switch, a concrete pad, the gas line tie-in, and the electrical permit and inspection. Most homes land in the $10,000–$14,000 range on a 22kW unit, which covers a typical house running central air and major appliances.

    Installation labor alone is $3,000 to $7,000 of that total, driven mostly by how far the gas line has to run and how much panel work is involved — a home already on natural gas near the meter is a cheaper install than one needing a new propane tank and a long trench.

    Whole-house generator installed cost by size in kW, 2026
    Generator Size Typical Installed Cost
    8 kW (small home, essentials only) $9,600–$16,900
    14 kW (most common size) $11,200–$19,500
    22 kW (whole-home, central air included) $13,400–$23,300

    The Cheaper Alternative: Portable Generator + Transfer Switch

    A portable generator paired with a manual transfer switch costs a small fraction of a standby system — typically $1,500 to $3,500 total including the generator, the switch, and a licensed electrician to wire the switch into your panel. The tradeoff is exactly what it sounds like: nothing happens automatically. You have to roll the generator out, connect it, and flip the switch yourself, which means someone has to be home and awake when the power goes out.

    This is the right call for most homes that lose power a few times a year for a few hours at a time. A standby system earns its price when outages in your area are long, frequent, or you have a medical reason the power genuinely cannot stay off.

    For shorter outages, or if you mainly need to keep a fridge, medical equipment, or a home office running rather than power the whole house, a battery-based portable power station is a fuel-free middle ground — no gas, no electrician, no permit. It can’t run the loads a gas generator can, but for the outages that only last a few hours it’s simpler and quieter. See our picks for portable power stations for options across budgets.

    If You’re Going the Portable Route

    The generator and switch are DIY-buyable, but the wiring at the panel is not a DIY step — get that part inspected. Everything up to the panel connection, you can handle yourself.

    • DuroStar DS13000MX 13,000-Watt Dual Fuel Portable Generator — Transfer switch ready with a 50-amp outlet, which matters — some portable generators need an adapter to work with a standard transfer switch inlet and this one doesn’t. Dual fuel means it’ll run on propane if gasoline is hard to find during a regional outage, and push-button electric start means you aren’t pull-starting a 500cc engine in the rain.
    • Connecticut Electric EmerGen 30A 10-Circuit Manual Transfer Switch Kit — Ten circuits is enough to cover the fridge, furnace blower, a few lights, and the well pump if you have one — the circuits that actually matter during an outage, not the whole house.

    The transfer switch has to be wired into your main panel by a licensed electrician in most jurisdictions, and skipping that step to save money is the one place this job turns dangerous — a generator back-feeding into the grid through an unswitched panel can kill a utility lineman working on what they think is a dead line.

    Get at least two quotes for a standby system and ask each one to itemize the gas line and pad work separately from the generator and switch — that’s where installer prices actually diverge, not in the unit itself, which is close to list price everywhere. That same idea – separating the parts of a quote that vary from the part that does not – is how we build the ranges here, covered in How We Estimate.
    More Cost Guides

  • Furnace Replacement Cost by AFUE and BTU Size (2026)

    Furnace Replacement Cost by AFUE and BTU Size (2026)

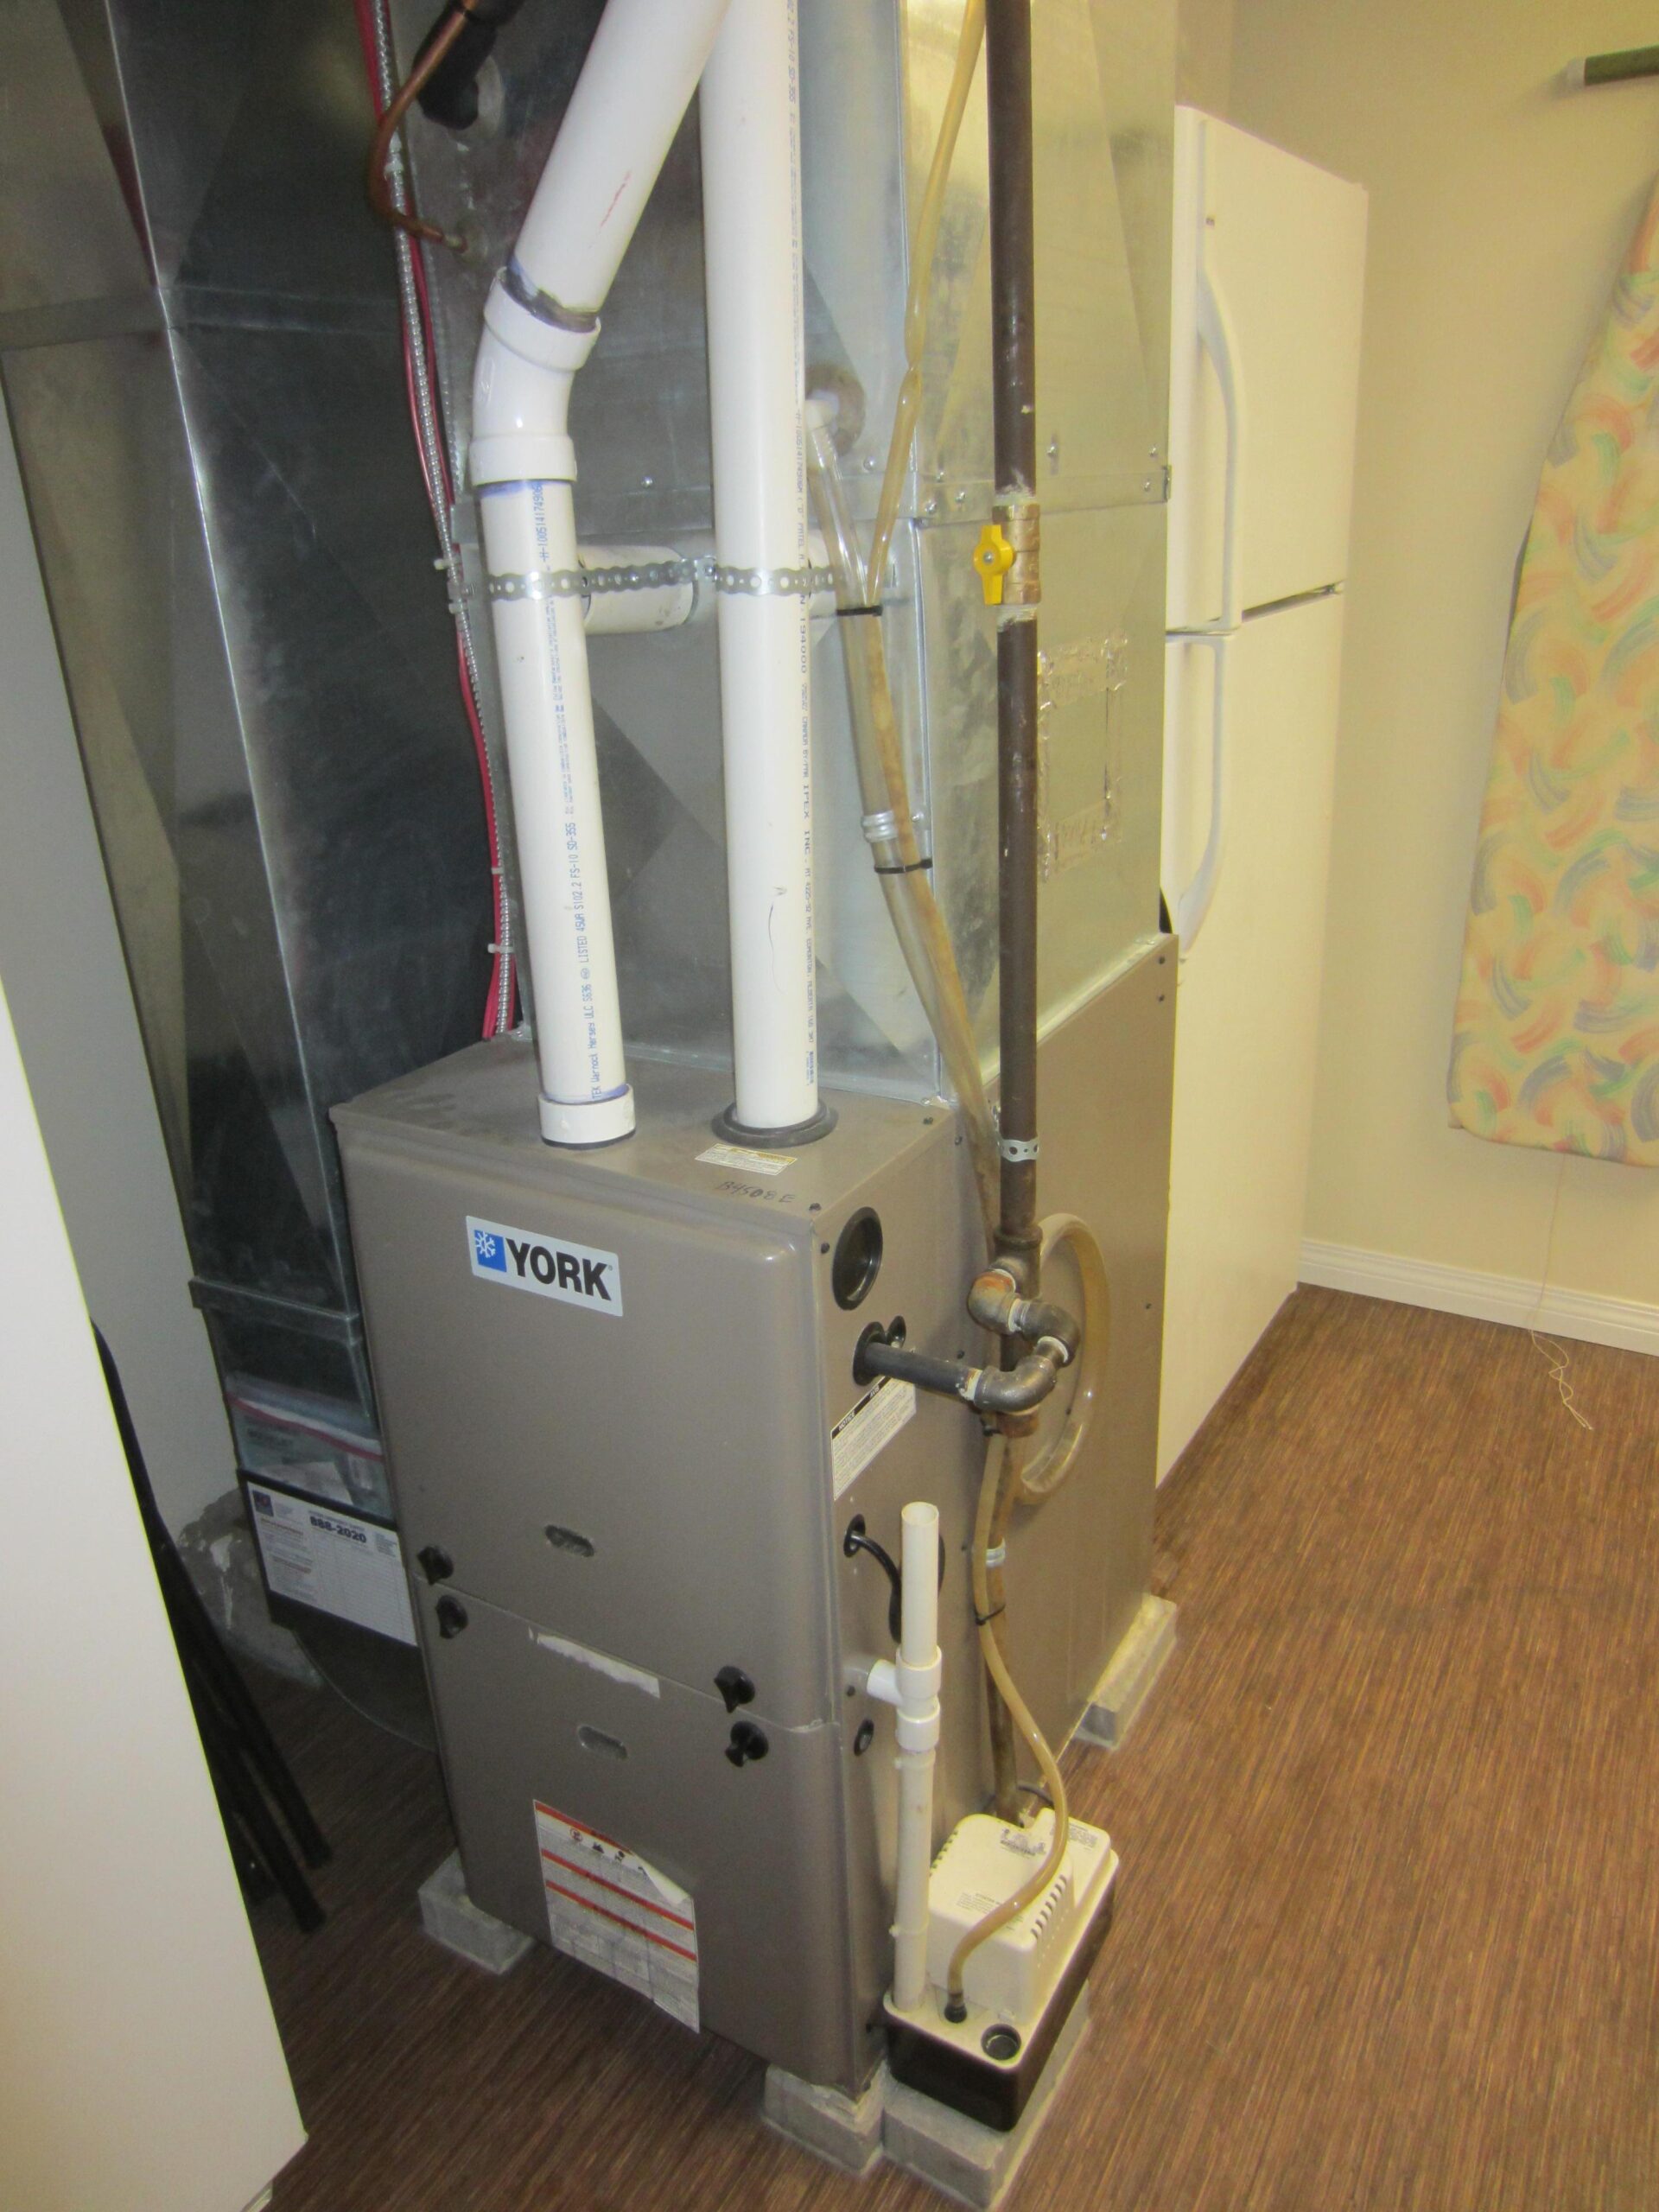
    A mid-efficiency furnace lands between $2,800 and $5,000 installed, while stepping up to 96 percent AFUE and higher pushes the job to $3,500 to $7,500. A furnace quote can swing by thousands of dollars for what sounds like the same job, and most of that spread comes down to two things: efficiency rating and whether your ductwork needs work along with the unit itself. This isn’t a DIY replacement — gas lines and combustion venting are code-inspected work — so the goal here is knowing what’s driving your specific number.

    What a Gas Furnace Actually Costs Installed

    Installed gas furnace replacement runs $2,800 to $7,500 for most homes, with the national average for a mid-efficiency unit in a typical 1,500–2,000 sq ft home landing between $4,500 and $6,300. Larger homes, high-efficiency equipment, or a home needing duct modifications push toward the top of that range and beyond.

    Equipment is roughly 60% of the total bill; labor, permits, materials, and disposal of the old unit make up the rest.

    Furnace replacement installed cost by efficiency type, 2026
    Furnace Type Typical Installed Cost
    Mid-efficiency (80% AFUE) $2,800–$5,000
    High-efficiency (96%+ AFUE) $3,500–$7,500
    Larger home / duct modifications needed up to $12,000

    Is High-Efficiency Worth the Premium

    A 96%+ AFUE furnace adds roughly 30% to the upfront price but can save $200–$400 a year on heating bills, which pays back the premium over roughly 6–10 years depending on climate and gas prices in your area. In a mild climate with a short heating season, the payback stretches out and a mid-efficiency unit is often the more rational buy. In a genuinely cold climate running the furnace half the year, high-efficiency tends to pencil out.

    One Thing Worth Doing Yourself, While You’re At It

    The furnace itself isn’t a DIY install, but if you’re already having the HVAC system worked on, pairing it with a DIY-friendly smart thermostat is a genuinely easy add that a homeowner can do in an afternoon.

    • Sensi Lite Smart Thermostat — Explicitly built for DIY installation and Energy Star certified — a straightforward swap that pairs well with new, more efficient equipment.

    Confirm compatibility with your specific furnace and any existing zoning system before buying — a multi-stage or variable-speed high-efficiency furnace sometimes needs a thermostat rated for it specifically, and the installer can confirm this in five minutes.

    Get quotes that specify the AFUE rating and BTU output in writing, not just "furnace replacement." Two quotes that look close in price can be for meaningfully different equipment, and BTU output undersized for your home’s square footage is a common way a cheaper quote ends up costing more in comfort and gas bills over the life of the unit. The same insistence on specifics behind a quote – AFUE rating, BTU output, not just a generic replacement quote – is how we build our own ranges too, as explained in How We Estimate.

    More Cost Guides

  • Paver Patio Cost Per Square Foot: Materials, Base and Labor (2026)

    Paver Patio Cost Per Square Foot: Materials, Base and Labor (2026)

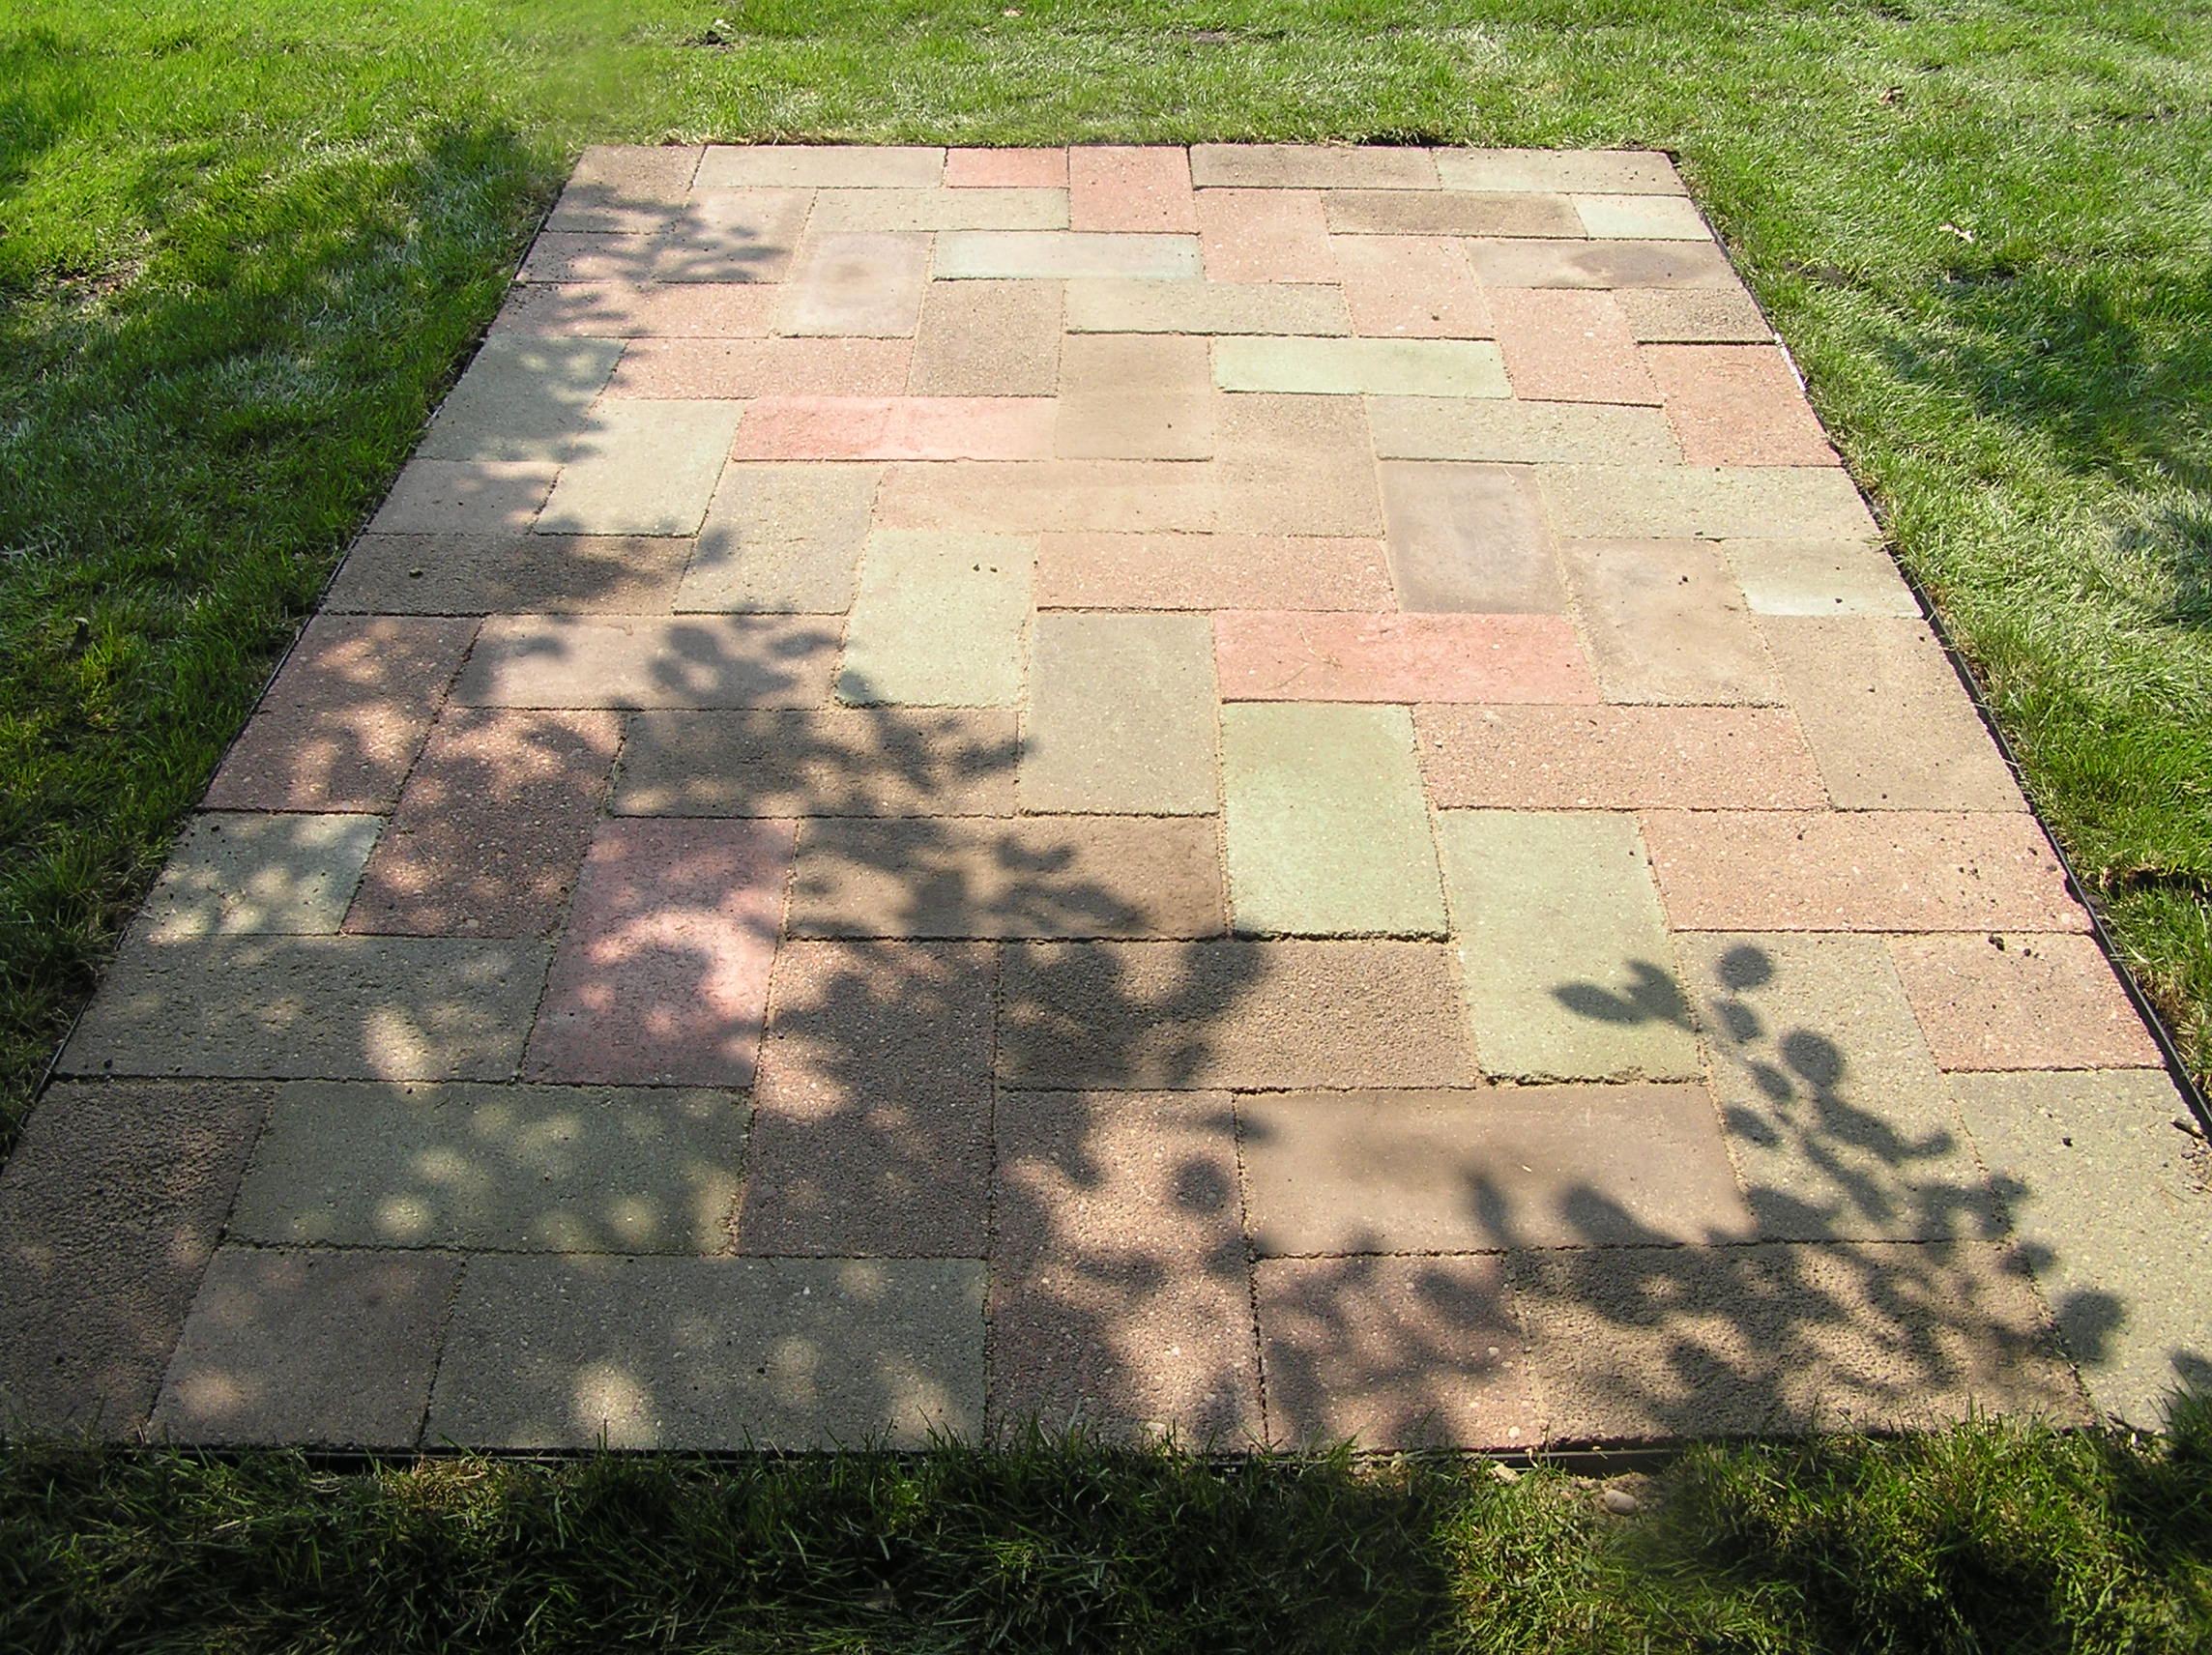
    Material alone swings a paver patio from $10 to $20 a square foot for concrete pavers up to $40 to $55 for natural stone, an average 280-square-foot job landing near $3,350. A paver patio sits in an unusual spot for a home improvement project: it’s expensive enough that most people get quotes, but simple enough in principle — dig, level, base, sand, pavers — that a lot of homeowners end up doing at least part of it themselves. Where you land depends mostly on the material you pick and how much of the excavation you’re willing to do by hand.

    Cost Per Square Foot by Material

    Installed cost runs $20 to $30 per square foot for most professionally laid patios, but the material you choose swings that number more than almost anything else. Concrete pavers sit at the low end; natural stone and premium finishes can more than double the price.

    For an average 280-square-foot patio, that puts a professionally installed job around $3,350, with a realistic range of $2,275 to $6,950 depending on material and site conditions. How we turn a per-square-foot figure into a realistic range for an average-size job like this one is covered in How We Estimate.

    Paver patio cost per square foot by material, 2026
    Material Cost per sq ft
    Concrete pavers $10–$20
    Brick $25–$35
    Natural stone / flagstone $40–$55

    What Actually Drives the Spread

    Site access and existing grade matter more than most people expect. A flat, easy-access backyard is a different job than one that needs drainage correction or a retaining edge to hold a slope. Base depth also isn’t optional — skimping on the compacted gravel base is the single most common reason a paver patio heaves or sinks within a few years, and it’s not visible until it’s already a problem.

    If You’re Taking the DIY Route

    A small, flat patio is genuinely within reach for a patient DIYer — the labor savings can be substantial since labor is most of the professional quote.

    If the site needs real drainage work, a retaining wall, or grading beyond a few inches of slope, that’s the point to call a contractor — getting the water management wrong is expensive to fix after the pavers are down.

    Order 10% more material than your measured square footage. Cuts around curves and edges waste more paver and base material than people plan for, and a mid-project trip back to the supplier for a small top-up often means a different dye lot that doesn’t quite match.

    More Cost Guides

  • Basement Waterproofing Cost: Interior Drain vs. Exterior Excavation (2026)

    Basement Waterproofing Cost: Interior Drain vs. Exterior Excavation (2026)

    Interior drain tile and a sump pump average around $3,000, while exterior excavation and membrane work averages closer to $7,000 and can run past $15,000 in full-scope cases. "Basement waterproofing" covers two very different jobs, and the price tells you which one you’re looking at. A homeowner dealing with a damp wall after heavy rain is not in the same situation as one with standing water after every storm, and the fix — and the price tag — for each is not remotely close.

    Interior vs. Exterior: Two Different Jobs

    Interior waterproofing manages water that’s already getting in — drain tile along the interior footing, a sump pump, and sealant — and averages around $3,000, typically ranging $3,000 to $8,000. Exterior waterproofing stops water before it reaches the wall at all, which means excavating around the foundation, and averages closer to $7,000, ranging $8,000 to $15,000. How we set a range as wide as $3,000 to $8,000 around one type of job, rather than quoting a single figure, is explained in How We Estimate.

    Per square foot, expect $3 to $10, so a 1,000-square-foot basement runs $3,000 to $10,000 depending on which approach and how bad the problem already is.

    Basement waterproofing cost by method, 2026
    Method Typical Cost Range
    Interior (drain tile + sump pump) $3,000–$8,000
    Exterior (excavation + membrane) $8,000–$15,000
    Full-scope severe cases up to $18,000+

    Which One Does Your Basement Need

    If water is coming through the wall itself — visible seepage, efflorescence, a damp patch that grows after rain — that’s usually a job for exterior waterproofing, because the interior fix doesn’t stop water from reaching the wall, only from pooling on the floor. If the water is coming up through the floor or a crack at the wall-floor joint, interior drain tile and a sump pump usually solves it for a fraction of the price. Block foundations are more failure-prone and more expensive to fix than poured concrete, so foundation type is worth mentioning to any contractor quoting the job.

    If You’re Taking the DIY Route

    A minor, single crack or occasional dampness is realistically DIY-fixable. A basement that’s ever had standing water is not — that’s the point to call a waterproofing contractor.

    • DAP Quick Plug Hydraulic Cement — Sets in minutes, even against active water pressure, which makes it the standard fix for a small, isolated foundation crack.
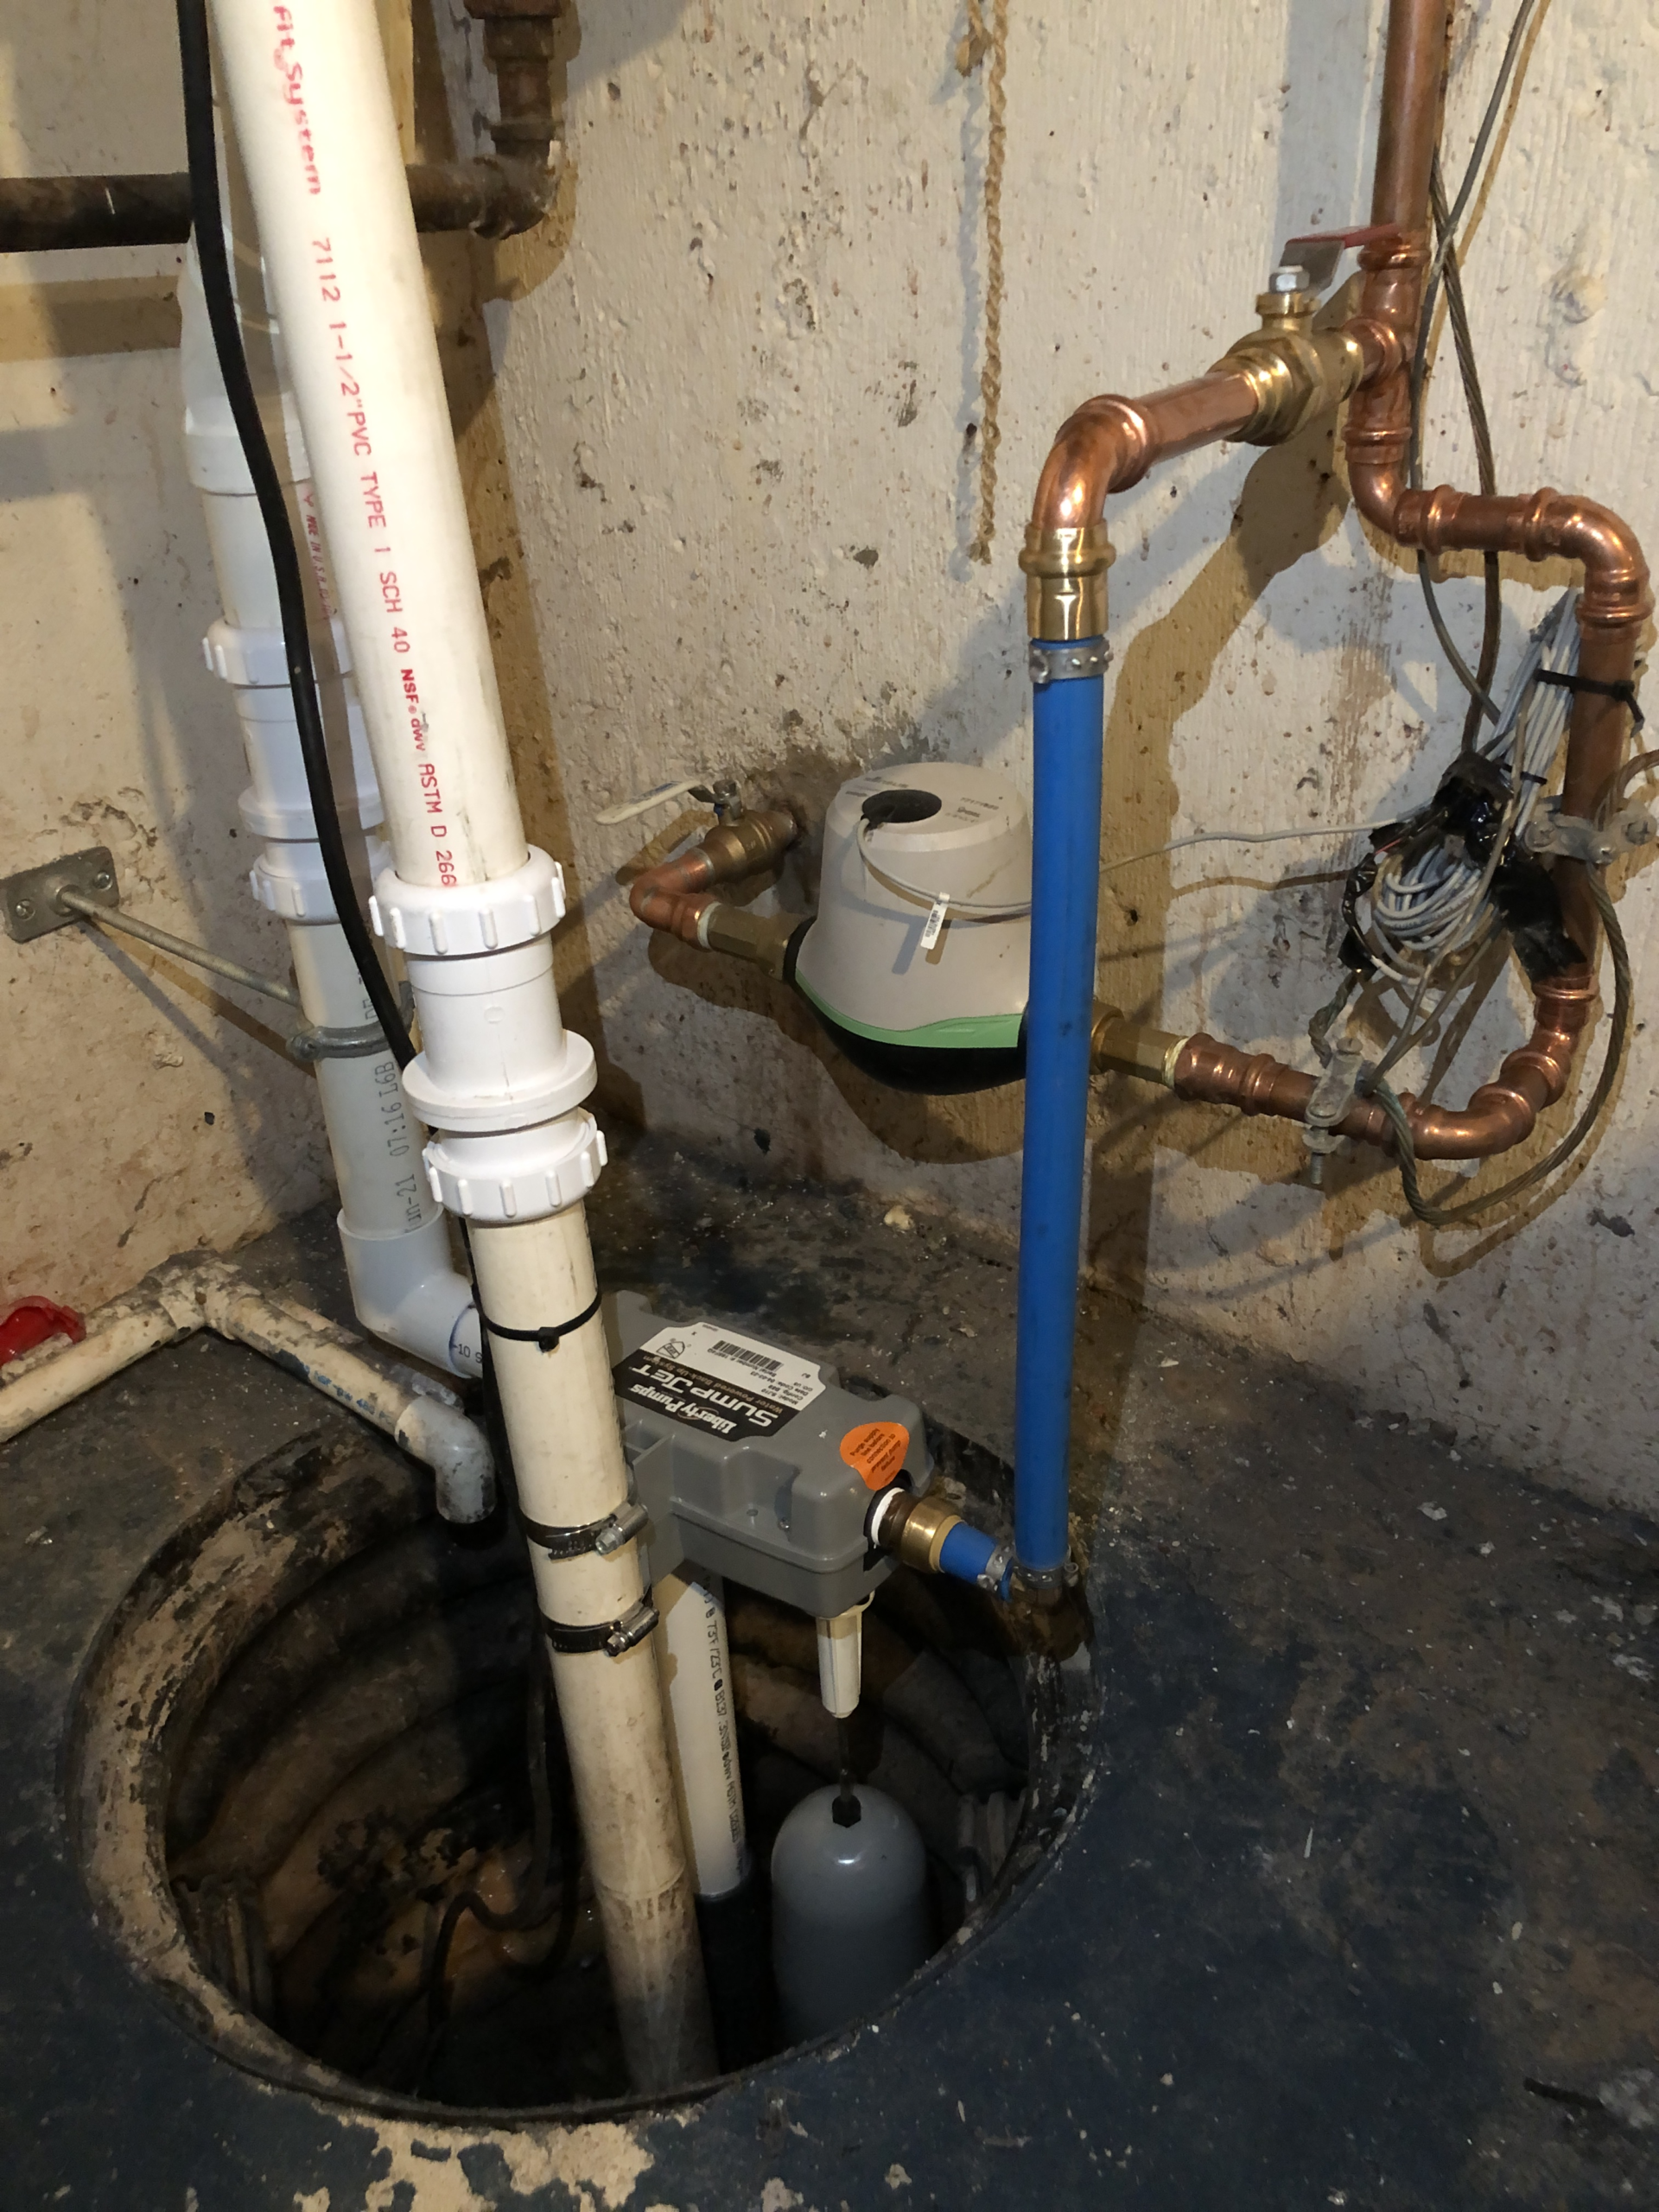
    • WAYNE CDU790 Cast Iron Sump Pump — A cast-iron pump body holds up longer than the plastic ones once it’s running regularly, which matters if you’re relying on it during storms.
    • Compare interior waterproofing sealants — Helps with minor dampness and efflorescence on an interior wall, though it won’t stop water actively pushing through from outside.

    If you’ve ever had actual standing water on the floor, or the dampness keeps returning after a DIY fix, stop there — that’s a sign the water table or grading around the house is the real problem, and it needs a professional assessment, not another tube of sealant.

    Before paying for any waterproofing work, check the simplest and cheapest cause first: gutters that don’t extend at least 4–6 feet from the foundation and grading that slopes toward the house instead of away from it cause a large share of "basement water" problems, and fixing either costs a fraction of a waterproofing system.

    More Cost Guides

  • Electrical Panel Upgrade Cost: 100A to 200A, Installed (2026)

    Electrical Panel Upgrade Cost: 100A to 200A, Installed (2026)

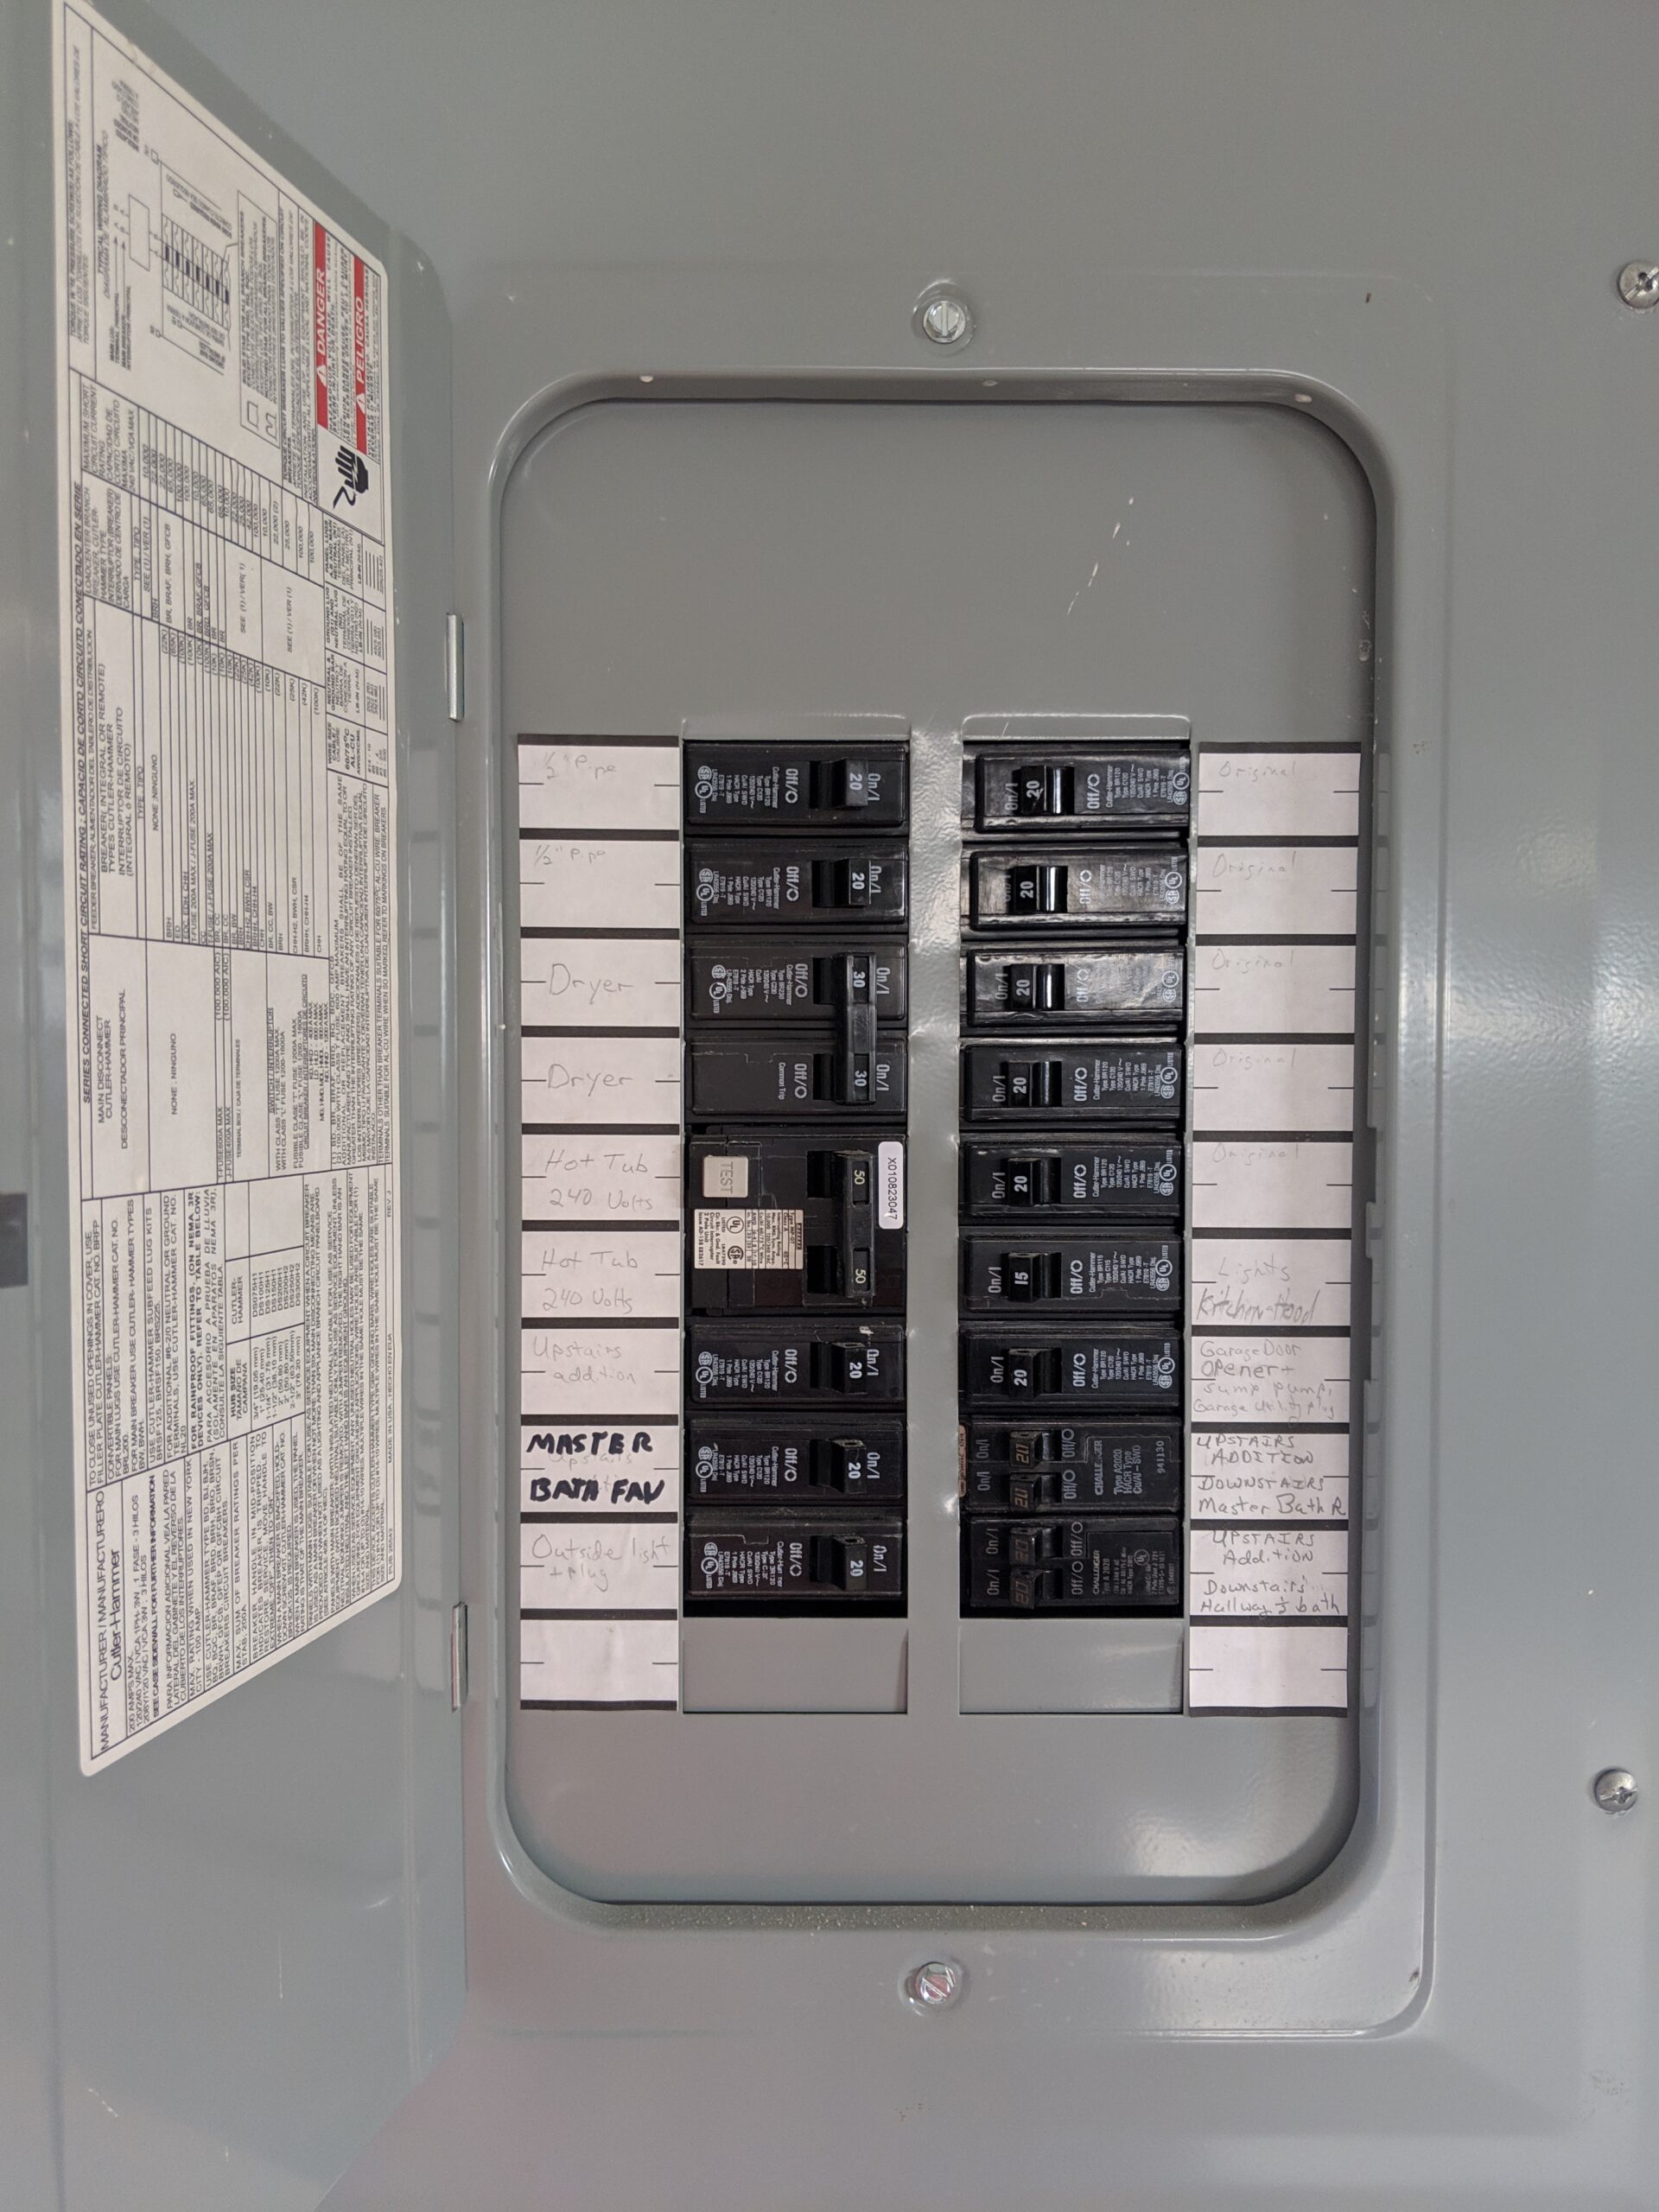
    Whether the utility needs to touch the service drop or meter is what separates a $1,500 panel swap from one that runs past $6,000. A 100-amp panel was standard when a house had a furnace, a fridge, and not much else pulling power. Add central air, an EV charger, and a kitchen full of appliances, and that same panel starts tripping breakers or simply can’t add the circuit you need. This is not a DIY job — it involves the utility’s live service drop and a permitted inspection — so this guide is about knowing what a fair quote looks like, not how to do it yourself.

    What Drives the Price

    The panel and breakers themselves are a small piece of the bill. Labor, permitting, and — critically — whether the utility has to get involved to upgrade the service drop or meter are what separate a $1,500 job from a $6,000 one.

    Electrician rates vary more than almost any other trade in this guide: $65 an hour in rural, low-cost areas versus $150+ an hour in NYC, San Francisco, or Honolulu. A quote that looks high next to an online average is often just an honest reflection of local labor cost, not a markup.

    Electrical panel upgrade installed cost by scope, 100A to 200A, 2026
    Scope Typical Installed Cost
    100A to 200A panel upgrade, standard $1,500–$4,000
    100A to 200A with utility service work $3,000–$6,000
    Full upgrade in a high-labor-cost market $5,000–$6,000+
    • New 200A panel: $700–$900
    • Breakers: $300–$500
    • Labor (8–10 hours): $800–$1,400
    • Permit and inspection: $250–$500

    Why This One Isn’t a DIY Project

    Every other guide on this site tells you where a homeowner can reasonably save money by doing part of the work themselves. This is the exception. The main panel is the one point in the house where a mistake is lethal, not just expensive, and most jurisdictions require the utility to physically disconnect service before anyone opens the panel — a step a homeowner can’t do themselves. Pull a permit and use a licensed electrician for this one; it’s also usually required for the inspection your homeowner’s insurance will eventually ask to see.

    How to Get a Fair Quote

    Get at least two quotes and ask each electrician the same direct question: does your existing service entrance cable and meter base need replacing, or just the panel? That single answer explains most of the spread between a $2,000 quote and a $5,000 one. If a quote is unusually low, confirm it includes the permit and inspection fee — some contractors quote labor and materials only and add the permit as a surprise line item. Why one detail like that can explain most of the spread between a $2,000 quote and a $5,000 one is part of how we build these ranges, covered in How We Estimate.

    If your only symptom is a breaker that trips under normal load, ask an electrician whether the fix is really a full panel upgrade or just a dedicated circuit for the one appliance causing it — a $300 fix sometimes gets sold as a $3,000 one to someone who doesn’t ask.

    More Cost Guides

  • Water Softener Installation Cost by Grain Capacity (2026)

    Water Softener Installation Cost by Grain Capacity (2026)

    A basic salt-based single-tank unit installs for as little as $450, while a whole-home high-capacity system can run past $11,000 once equipment and labor are both factored in. A water softener install runs anywhere from a few hundred dollars to well over five figures, and almost all of that spread comes down to which technology you pick and whether you’re paying someone to run new plumbing and a drain line or doing it yourself. This guide breaks down cost by softener type, by grain capacity, what a professional install bills for beyond the unit itself, and where the job is realistic to take on yourself.

    Cost by System Type

    Salt-based ion exchange is still the standard for removing hardness minerals outright, not just changing their behavior; it’s the baseline most of these prices are built around. Salt-free conditioners skip the salt and the drain line requirement, which simplifies installation, but they condition minerals instead of removing them and can struggle with very hard water. Dual-tank systems cost more up front because you’re buying two resin tanks instead of one, but you get continuous soft water during regeneration instead of a window of untreated water while the single tank cycles. We explain how we pick a baseline technology like this and build the rest of the range around it in How We Estimate.

    Water softener cost by system type, equipment and installed total, 2026 (the salt-based single-tank range is the span across all four grain-capacity tiers broken out below, sourced from This Old House capacity data plus this guide’s own labor estimate)
    System Type Equipment Cost Typical Installed Total
    Salt-based single-tank $300–$1,500 $450–$2,500
    Salt-free conditioner $800–$2,500 $1,300–$3,200
    Dual-tank (salt-based) $1,800–$3,500 $2,500–$4,500
    Whole-home high-capacity / commercial-grade $3,000+ $4,000–$11,000+

    That single-tank line isn’t one product. It’s the spread across four grain-capacity tiers, from a 24,000-grain unit sized for a small household up to a 64,000-grain unit for a large one, and the table below breaks out exactly where each tier falls within it.

    Cost by Grain Capacity

    System type sets the technology.

    Grain capacity sets the size, and it’s what most buyers shop on once they’ve decided salt-based is the right fit — because a unit that’s too small regenerates constantly, and one that’s too big is money spent on capacity you’ll never use.

    Water softener equipment and installed cost by grain capacity — the tiers underlying the salt-based single-tank range above — with household size and water hardness fit, 2026 (capacity and household-fit data per This Old House; installed total adds this guide’s own $150–$1,000 labor range, cited above, to the equipment cost)
    Grain Capacity Water Hardness (GPG) Household Fit Equipment Cost Installed Total
    24,000 grain 6 – 9 2 – 4 people $300–$600 $450–$1,600
    32,000 grain 10 – 12 4 – 6 people $400–$1,000 $550–$2,000
    48,000 grain 13 – 18 4 – 6+ people, very hard water $500–$1,200 $650–$2,200
    64,000 grain 18 – 20 Up to 8 people or multiple bathrooms $1,000–$1,500 $1,150–$2,500

    A 24,000-grain unit is the entry point; it suits a small household on moderately hard water and not much else.

    Go bigger than your household needs and you’re not buying better softening, just a bigger tank sitting mostly idle between regenerations. Go smaller and you’ll know within a month, because the salt bill climbs and the unit starts cycling every couple of days instead of once a week.

    What’s Actually in a Professional Install

    Labor typically runs $150–$1,000, with most straightforward jobs landing around $500–$700. That covers cutting into the main supply line; plumbing in a bypass valve so you can service the unit without shutting off water to the whole house; running a drain line for the regeneration cycle, usually to a nearby floor drain, standpipe, or utility sink; and in some cases an electrical outlet near the unit for the control head. A job that needs new plumbing runs, an added drain where none exists, or work on older galvanized supply lines will land at the higher end or beyond it.

    Sizing It Correctly

    Undersizing is the most common expensive mistake. A system that regenerates too often burns through salt fast and shortens the resin’s working life. Sizing math is simple: multiply daily household water use by hardness in grains per gallon (GPG), and that’s the daily grain removal you need capacity for.

    A family of four using around 300 gallons a day, with moderately hard water at 10 GPG, needs roughly 3,000 grains of daily capacity. Per the table above, that lands them in the 32,000-grain tier, not the 24,000-grain one — enough headroom for normal regeneration frequency instead of a unit cycling every couple of days. Get your water tested before buying anything. A local water utility report or a cheap test strip kit will do for a ballpark; guessing at hardness is how people end up with a system that’s the wrong size in either direction.

    If You’re Taking the DIY Route

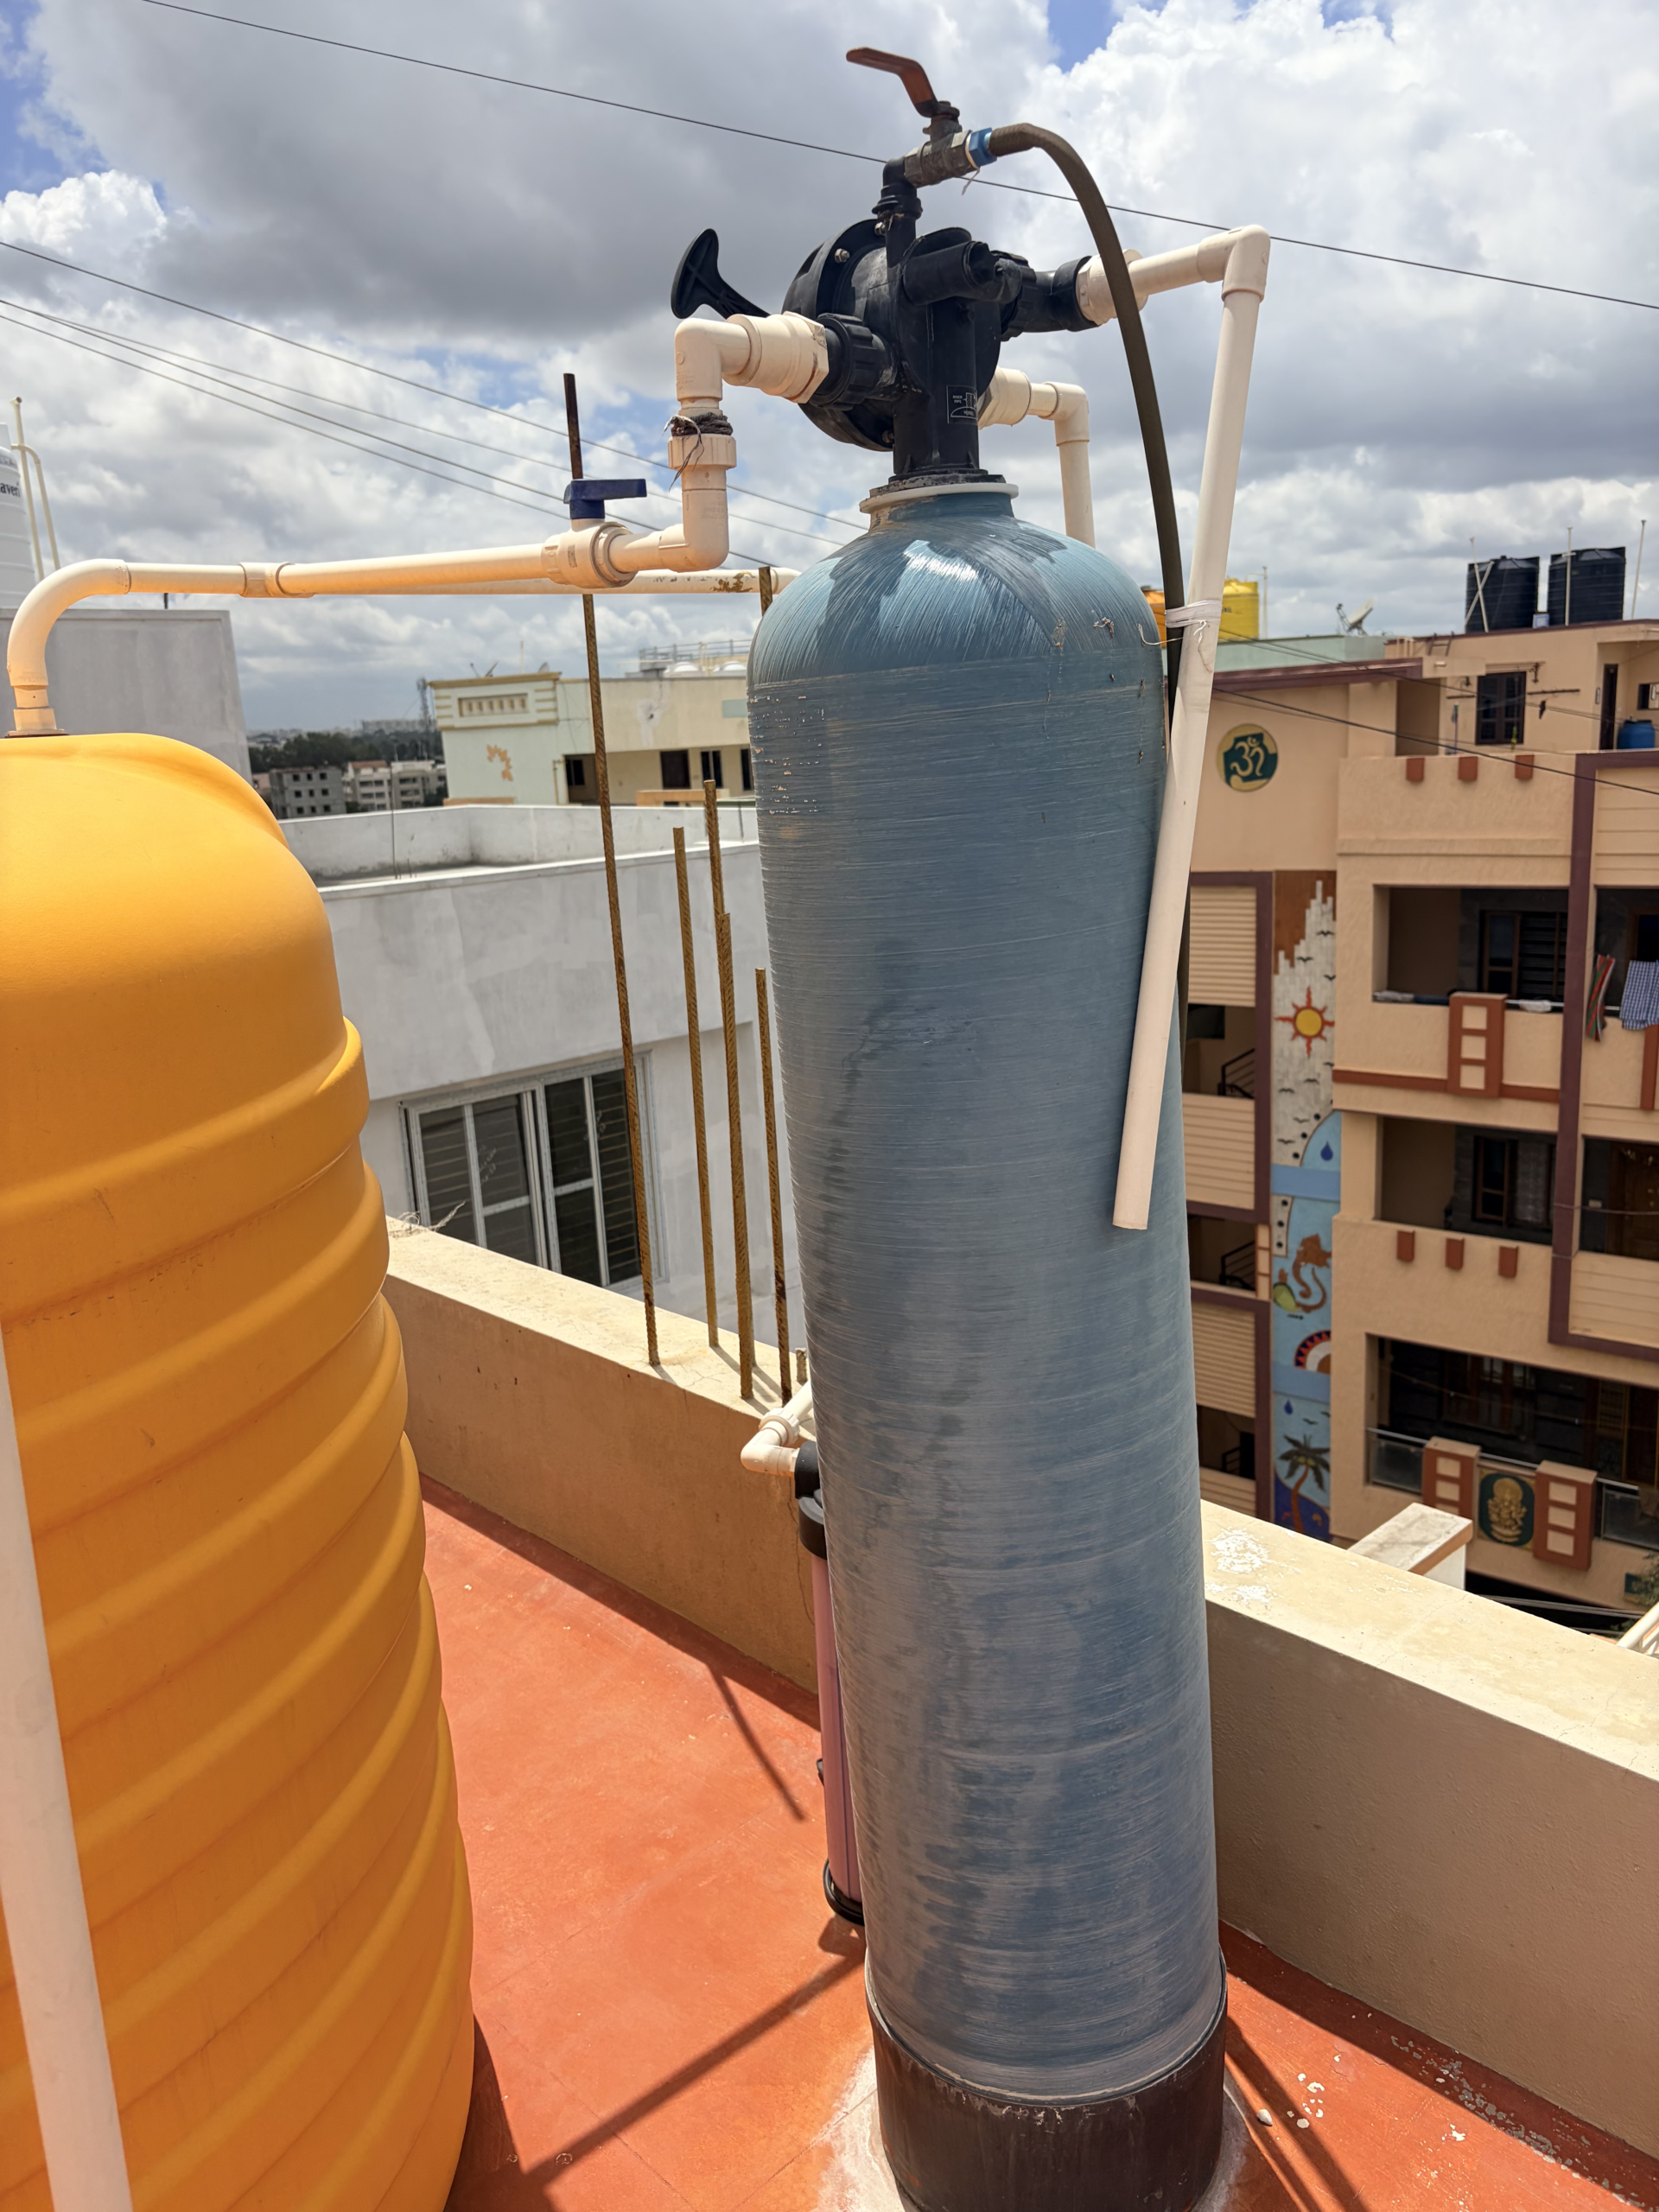
    Installing a water softener yourself is realistic if you’re comfortable with basic plumbing and your home already has a straightforward supply line to tap into — modern push-to-connect fittings mean you often don’t need to solder copper at all. It’s not a beginner’s first plumbing project, but it’s well within reach for anyone who’s done a water heater or fixture swap before.

    • AFWFilters 48K Grain Fleck 5600 SXT Water Softener (Complete System) — The Fleck 5600 SXT is the system most DIY plumbing guides build around — it ships as a complete unit with the bypass valve and brine tank included, and the digital metered control is well documented online if you need to troubleshoot the setup later.
    • Compare push-to-connect fittings — Push-fit fittings let you tie into copper, PEX, or CPVC supply lines without soldering or solvent welding, which is what makes a weekend DIY install realistic for most people.
    • Compare drain line air gap kits — Code in most areas requires an air gap on the drain line so wastewater can’t siphon back into the softener — cheap to add during install, a real problem to retrofit later if an inspector flags it.

    Call a licensed plumber if your home doesn’t already have an accessible shutoff near the intended install point; if you’re on well water with iron or sediment issues that need a pre-filter; or if your local code requires a permit and inspection for the drain connection. Pulling a permit after the fact for water treatment equipment is more expensive than getting it upfront.

    Whatever system and capacity you land on, check your municipal or HOA rules before you buy. A growing number of areas restrict or ban salt-based softener discharge into the sewer system because of downstream sodium levels, which would push you toward a salt-free conditioner or a potassium-chloride alternative regardless of which one you’d otherwise prefer on performance alone.

    More Cost Guides

  • Attic Insulation Cost by R-Value and Square Footage (2026)

    Attic Insulation Cost by R-Value and Square Footage (2026)

    Most attic insulation quotes land somewhere between $1,500 and $6,000. The spread comes down to two questions: what material you’re installing, and whether a crew has to remove what’s already up there first. This guide breaks out cost by material, what moves the price beyond the per-square-foot number, and where a homeowner can reasonably do part of the job without hiring it out. It also breaks out cost by R-value, because square footage alone doesn’t say what you’re buying. R-49, the depth most cold-climate codes recommend, takes close to twice the material of R-30, whichever type you choose.

    Cost by Material

    Blown-in cellulose and blown-in fiberglass are the cheapest way to hit a good R-value across an open attic floor, which is why they’re the default recommendation for most homes. Fiberglass batts cost about the same per square foot but take longer to install correctly around obstructions, wiring, and irregular joist spacing.

    Spray foam sits well above both.

    It’s the only option that air-seals as it insulates, which matters for older homes with a leaky attic floor, but it roughly doubles or triples the price of blown-in material. R-value per inch is what turns these material choices into a number of inches, and inches are what a contractor is pricing when they quote a total. Add that column to the cost table, and the question this guide is named for finally has an answer: what R-49 costs changes depending on which material you pick.

    Attic insulation cost and R-value per inch by material, 1,000 sq ft attic, 2026 (R-value-per-inch figures from DOE-standard insulation ratings; installed cost ranges are typical 2026 national figures, estimated rather than quoted — see How We Estimate)
    Material R-Value per Inch Depth for R-49 Cost per sq ft (installed) Typical Total, 1,000 sq ft Attic
    Blown-in cellulose R-3.2 – R-3.8 13 – 15 in. $0.90–$3.00 $900–$3,000
    Blown-in fiberglass R-2.2 – R-2.7 18 – 22 in. $1.00–$3.00 $1,000–$3,000
    Fiberglass batts R-3.0 – R-3.7 13 – 16 in. (layered) $0.75–$2.60 $1,500–$2,600
    Open-cell spray foam R-3.5 – R-3.8 13 – 14 in. $1.50–$2.00 $2,200–$4,100
    Closed-cell spray foam R-6.0 – R-7.0 7 – 8 in. $4.00–$8.00 $3,000–$6,000

    Closed-cell spray foam is the outlier in that table.

    Contractors typically spray it 3 to 5 inches thick for air-sealing and land at R-21 to R-30, not R-49. Going deeper multiplies an already expensive material fast. Most jobs that use it pair a few inches of closed-cell at the attic floor with blown-in cellulose on top, instead of filling the whole depth with foam.

    What It Costs to Hit R-49 in a 1,000 Sq Ft Attic

    R-49 is the Department of Energy’s recommendation for attic insulation in cold and mixed-cold climates, covering most of the northern half of the country plus high-elevation areas further south. That’s the gap in this title. Here’s the direct answer for the material most homes use to get there: blown-in cellulose.

    Blown-in cellulose installed cost by target R-value, 1,000 sq ft attic, 2026. Installed costs are typical national estimates, not quotes — see How We Estimate
    Target R-Value Depth Installed Cost
    R-30 7.9 – 9.4 in. $800–$2,000
    R-38 10 – 11.9 in. $1,000–$2,500
    R-49 12.9 – 15.3 in. $1,200–$3,000
    R-60 15.8 – 18.8 in. $1,500–$3,500

    Two things move that range. A first-time install into a bare attic floor costs more than a top-up over existing insulation, since a top-up needs less new material to close the same gap. And removal, if the existing insulation is wet or contaminated, is a separate line item (the $1.00–$2.25 per sq ft mentioned below) that this table doesn’t include.

    Fiberglass costs more too. Blown-in fiberglass delivers less R-value per inch than cellulose, so hitting R-49 with fiberglass takes roughly 40% more material by volume than cellulose needs for the same target, a gap that comes straight out of the R-value-per-inch figures in the table above, not brand pricing.

    What Pushes the Price Beyond the Base Rate

    The per-square-foot numbers above assume a clear attic floor and standard access. In practice, four things routinely add to the bill.

    • Removing old, damaged, or contaminated insulation before the new material goes in adds roughly $1.00–$2.25 per sq ft — often the single biggest line item beyond the material itself.
    • Region matters more than most homeowners expect. The Northeast and West Coast run 10–20% above the national average on both labor and material; the Southeast and Midwest tend to land at or below it.
    • Attic access and roof pitch change labor time directly — a walk-up attic with standard framing is quick to work in, while a cramped, low-clearance space or one reached only through a small hatch slows a crew down and adds hours.
    • Target R-value adds material cost linearly: going from R-30 to R-49 (the recommendation in colder climates) means roughly 60% more material by volume, regardless of which type you choose.

    Do You Need a Permit?

    Insulation-only work rarely triggers a permit — most jurisdictions treat it like any other interior finish work. Where a permit is required (some spray foam jobs, or projects bundled with electrical work near the insulation), expect $50–$200 for the paperwork itself, small relative to the job total. Confirm with your local building department before work starts if you’re unsure; it’s a five-minute call that avoids a redo.

    If You’re Taking the DIY Route

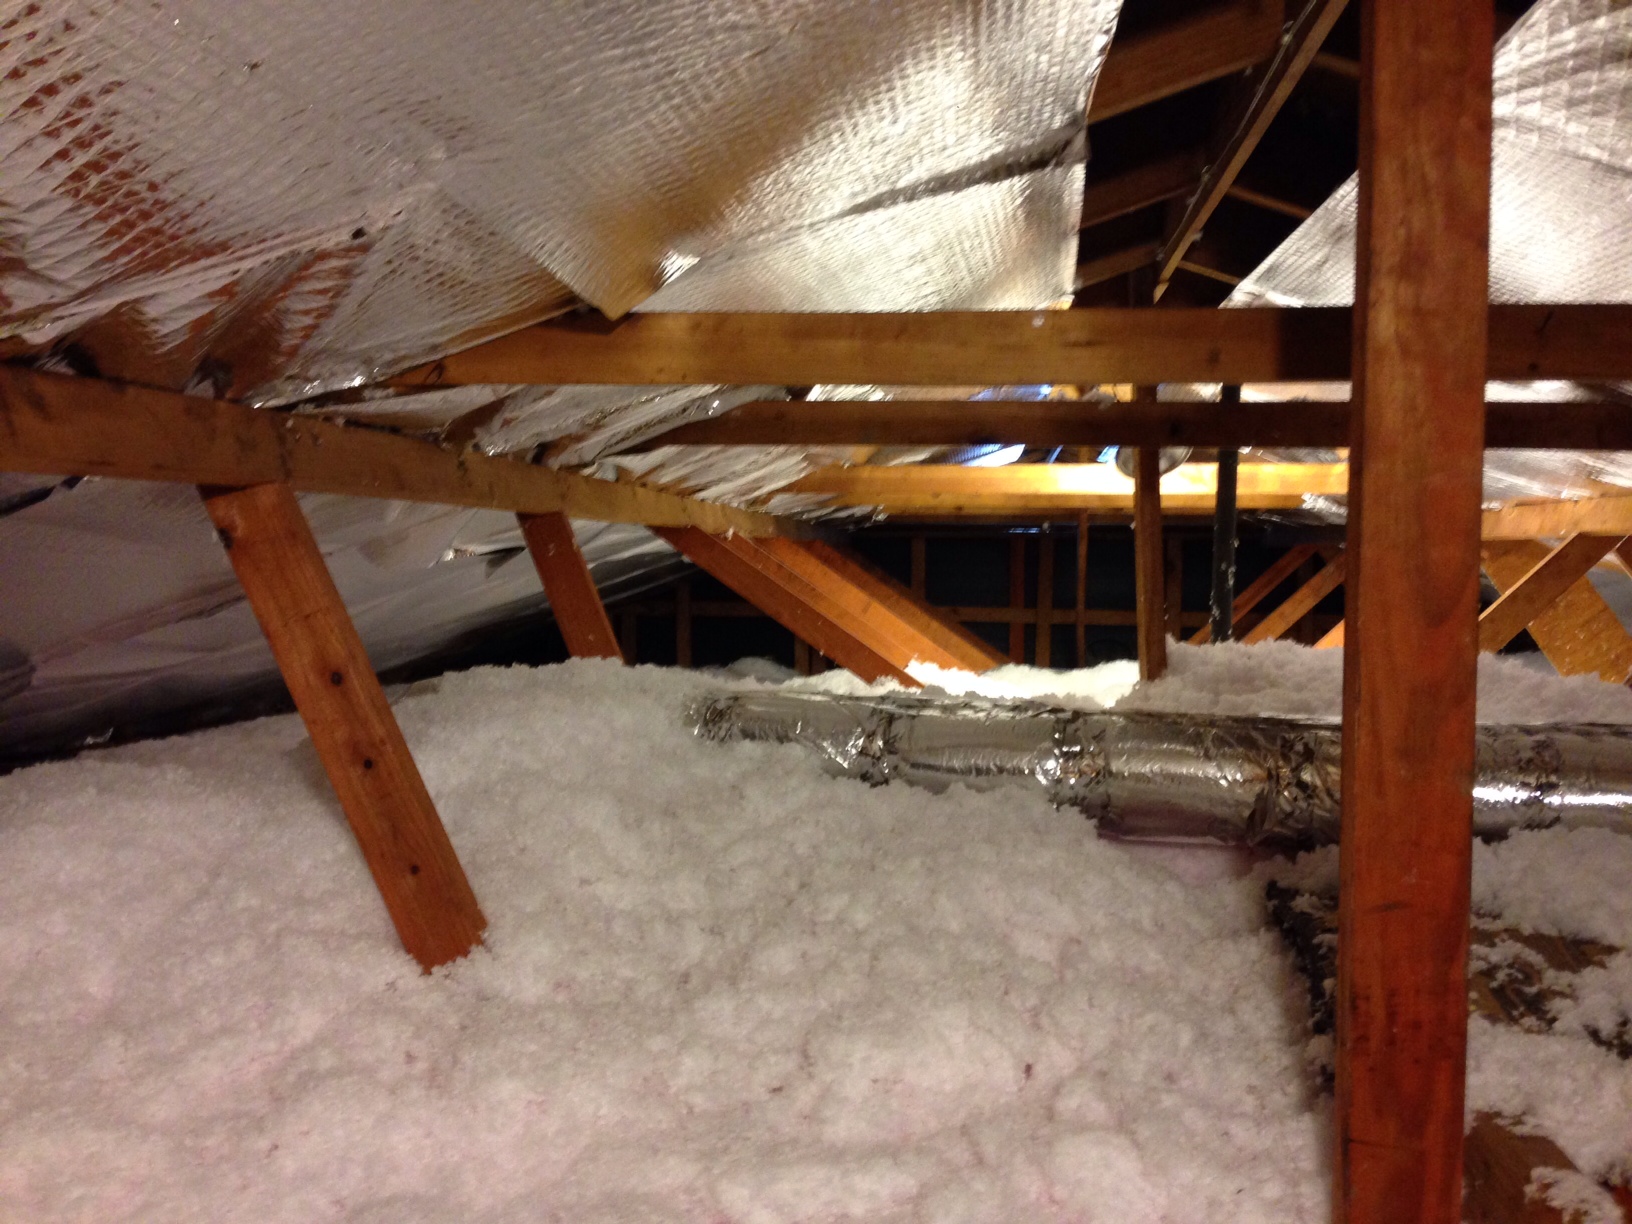
    Blown-in fiberglass and batts are doable yourself if your attic has standard joist framing, decent headroom, and no wiring or contamination issues to work around — most big box stores will loan you a blower machine free with the purchase of enough insulation bags. Spray foam is not a DIY project; it requires proprietary equipment and correct ratio mixing, and a bad DIY application can off-gas or fail to cure properly.

    • Owens Corning R-30 Kraft-Faced Fiberglass Batts (10-bag pallet, 792 sq ft) — Kraft-faced batts are the standard choice for an attic floor over unfinished space — the facing acts as a vapor retarder, which you want on the warm-in-winter side of the insulation in most US climates.
    • Compare rafter vent baffles — If you’re adding insulation up to or past the eaves, baffles keep a 2-inch air channel open at the roof deck so soffit ventilation still works — skipping them is the most common DIY mistake and it causes moisture problems later.
    • Compare respirator masks — Loose fiberglass and cellulose dust is genuinely bad to breathe for an afternoon of work. A proper half-face respirator with P100 filters is worth the cost over a paper dust mask.

    Call a pro if you find knob-and-tube wiring, signs of rodent activity or mold, or an attic with less than about 30 inches of headroom to work in — all three turn a straightforward weekend job into something that needs professional handling.

    If you only do one thing before calling contractors, measure your current insulation depth with a tape measure through the attic hatch and compare it to the R-value chart above — a lot of homes are sitting at R-11 to R-19 when the recommendation is R-49, and knowing that gap going in makes it much easier to tell whether a quote is proposing a real fix or a token top-up.

    More Cost Guides

  • Asphalt vs. Concrete Driveway Cost Per Square Foot (2026)

    Asphalt vs. Concrete Driveway Cost Per Square Foot (2026)

    Asphalt runs $7 to $15 per square foot installed versus $8 to $20 for concrete, a gap that turns a 400-square-foot driveway into anywhere from $2,800 to $8,000. A cracked, sunken, or gravel-rutted driveway is one of those projects homeowners put off until it’s unavoidable — but replacing it is also one of the higher-leverage curb-appeal upgrades you can make, since it’s the first surface anyone sees pulling up to your house. The two mainstream options, asphalt and concrete, land in different price brackets and behave very differently over a 15-30 year ownership window, so the “cheaper” choice up front isn’t always cheaper overall.

    What the Project Involves

    A driveway replacement typically means: removing the old surface (if one exists), grading and compacting the sub-base, laying a gravel base for drainage and stability, then pouring concrete or laying hot-mix asphalt on top. Both materials need proper base prep to avoid the two most common failure modes — cracking from ground movement and pooling water from poor grading. Skipping or skimping on base work is the single biggest cause of driveways failing early, regardless of which surface material you choose.

    Cost Breakdown by Material

    Most residential driveways run 300 to 600 square feet — a single-car driveway is usually 200-300 sq ft, while a standard two-car driveway lands around 400-600 sq ft. Here’s what installed pricing looks like per square foot in 2026:

    Driveway cost per square foot by material, 400 and 600 sq ft examples, 2026
    MaterialCost per sq ft (installed)400 sq ft driveway600 sq ft driveway
    Asphalt$7–$15$2,800–$6,000$4,200–$9,000
    Concrete (standard broom finish)$8–$12$3,200–$4,800$4,800–$7,200
    Concrete (stamped/decorative)$12–$20$4,800–$8,000$7,200–$12,000

    Asphalt is generally the cheaper up-front option, while concrete costs more initially but tends to last longer with less recurring maintenance. Concrete prices have also been climbing 3-5% annually as material costs rise, which is worth factoring in if you’re comparing quotes gathered months apart. How we build a range around a moving input like that annual price climb is explained in How We Estimate.

    What Drives the Price Up or Down

    A handful of factors swing these numbers more than the material choice itself:

    Removal and disposal. Tearing out an existing driveway (asphalt, concrete, or even a thick gravel base) typically adds $1 to $3 per square foot before the new surface goes in. This is often the line item homeowners forget to budget for when comparing “new driveway” quotes to their actual replacement cost.

    Grading and drainage. A driveway that slopes toward the house instead of away from it will eventually cause water problems at the foundation — the same underlying issue covered in our gutter installation cost breakdown, since driveway grading and gutter/downspout placement both exist to move water away from your house. If your lot needs significant regrading or a drain installed at the low point, add several hundred to a couple thousand dollars depending on scope.

    Thickness and base depth. Standard driveways use a 4-inch slab or asphalt layer; if you park anything heavier than passenger vehicles — an RV, boat trailer, or work truck — a 5-6 inch pour with a deeper gravel base is worth the extra 15-25% cost to avoid cracking.

    Finish and decoration. Plain gray concrete is the cheapest concrete option; stamped, stained, or exposed-aggregate finishes roughly double the per-square-foot cost but can meaningfully boost curb appeal and resale value, similar to the material trade-offs we walked through in the vinyl vs. fiber cement siding comparison — cheaper materials cost less now, premium ones cost less to maintain and look better longer.

    Climate. In freeze-thaw regions, both materials are vulnerable to cracking, but concrete cracks tend to be more visually permanent (patches rarely blend in) while asphalt can be resurfaced relatively cheaply. In hot climates, asphalt can soften and rut under heavy vehicle weight over time.

    Slope and access. A steep or oddly shaped driveway, or a site trucks can’t easily reach, adds labor time and sometimes requires hand-forming or smaller equipment, both of which raise labor costs.

    The Long-Term Cost Most People Miss

    Sticker price only tells half the story. Asphalt needs sealcoating roughly every 2-3 years ($400–$800 for a typical 400 sq ft driveway) to prevent water infiltration and extend its life, and most asphalt driveways need resurfacing or replacement within 15-20 years. Concrete needs sealing far less often (every 3-5 years, and it’s a cheaper job) and commonly lasts 25-30+ years before major work is needed. Run the math over two decades and the gap between “cheap asphalt” and “expensive concrete” narrows considerably — sometimes concrete comes out ahead on total cost of ownership even though it costs more on day one.

    If you’re weighing this alongside other exterior projects — say, you’re also pricing out a new fence or a retaining wall for the same property, it’s worth sequencing hardscape work before the driveway goes in, since heavy equipment for those projects can damage a freshly poured or paved surface.

    Realistic Total Range

    For a typical 400-600 sq ft two-car driveway with a straightforward, flat, easily accessible site and no major demolition needed, expect:

    Asphalt: roughly $3,000 to $9,000 installed.
    Standard concrete: roughly $3,500 to $7,500 installed.
    Decorative concrete: roughly $5,000 to $12,000 installed.

    Add $1,000–$2,500 on top of any of these if the old driveway needs to be torn out first, and budget more if your site needs significant grading, drainage work, or a thicker slab for heavy vehicles.

    Practical Tips

    Get at least three quotes from local contractors — driveway pricing varies more by region and contractor than almost any other home project, and national averages are only a starting point for your own conversations. Ask each contractor specifically about base depth and compaction method, since that’s the part of the job you can’t see once it’s finished but that determines whether the driveway lasts 10 years or 30. Time the project for moderate weather; both asphalt and concrete cure poorly in extreme heat or freezing temperatures, and many contractors’ schedules (and prices) reflect seasonal demand. Finally, check whether your municipality requires a permit for driveway replacement, especially if it affects drainage into a public right-of-way — skipping this step can mean redoing the work later.

    Estimate Your Driveway Cost

    Use the calculator below to get a rough estimate based on your driveway’s size and material. This gives a ballpark only — get contractor quotes for an accurate number specific to your site.

    Driveway Cost Calculator

    Actual costs vary significantly by region, site conditions, and contractor — always get multiple local quotes before budgeting a final number.

    Sealcoating it yourself. The $400–$800 quote above is mostly labor — materials for a 400 sq ft driveway run $60–$150, and it’s a squeegee job, not a skilled one. Henry HE532410 5 Gallon Driveway Asphalt Resurfacer covers 250-500 sq ft depending on how porous the surface is, and it’s worth comparing current sealer prices before you buy, since coverage per bucket varies a lot between brands. Either way, allow 24-48 hours before you drive on it, and note that nothing will stick to a driveway that still has oil stains on it.

    More Cost Guides

  • Retaining Wall Cost: Materials, Labor, and What Actually Drives the Price in 2026

    Retaining Wall Cost: Materials, Labor, and What Actually Drives the Price in 2026

    Materials and labor together run $35 to $65 per square foot of wall face for most retaining walls, though premium natural stone can push that as high as $95. If your yard has a slope that’s eating into usable space, eroding after every heavy rain, or threatening a foundation, a retaining wall is usually the fix. It’s also one of those projects where the price range homeowners see online is almost useless — “a few thousand dollars” covers everything from a low timber wall you could build in a weekend to an engineered concrete block system that needs a permit and a structural stamp. Here’s what actually goes into the number.

    What a Retaining Wall Project Actually Involves

    At its core, a retaining wall holds back soil on a slope so it doesn’t slump, erode, or wash out over a walkway, patio, or foundation. The work typically includes excavating a trench for the base, laying a compacted gravel footing, building the wall itself course by course (or timber by timber), backfilling with drainage-friendly gravel behind the wall, and installing a drainage pipe or weep holes so water doesn’t build up and push the wall over. Taller or longer walls also need site grading and sometimes a batter (a slight backward lean) for stability.

    It’s similar in spirit to other structural exterior projects — the footing and drainage work overlaps a lot with what goes into a deck’s footing and support system, and a timber retaining wall shares material sourcing and lifespan trade-offs with a wood fence installation.

    Retaining Wall Cost by Material

    Professionally installed, most retaining walls run $35 to $65 per square foot of wall face (length times height), materials and labor combined. Here’s how that breaks down by material:

    Retaining wall installed cost per square foot by material, 2026
    MaterialInstalled cost per sq ft
    Treated timber$15–$35
    Concrete block (segmental units)$25–$60
    Natural stone$25–$60 (up to $95 for premium or imported stone)
    Gabion (wire cages filled with stone)$20–$45

    Treated timber is the cheapest option upfront, but timber walls only last 10–20 years before rot sets in, especially in wet climates. Concrete block is a good middle ground — interlocking blocks are DIY-friendly for short walls and last 50–100 years. Most of the cost of natural stone is labor — fitting irregular stones by hand is slow, skilled work, so locally quarried stone keeps the budget down more than the stone itself does. Gabion cages are less common residentially but effective on steep or erosion-prone slopes.

    If you’re comfortable doing the labor yourself, materials alone run much lower: roughly $5–$15 per sq ft for concrete block, $5–$10 for timber, and $8–$15 for natural stone. Professional labor adds another $10–$50 per sq ft on top, or $50–$75 per hour, depending on the crew and how difficult the site is to access.

    What Actually Drives the Price Up (or Down)

    Wall height is the biggest factor by far. Most jurisdictions require a permit once a wall exceeds 3 to 4 feet, and taller walls need a stamped design from a licensed structural or geotechnical engineer to make sure the wall can handle the soil pressure behind it. That engineering review typically adds $500 to $2,000, and permits run another $50 to $450 depending on your city and the wall’s size. A 2-foot decorative wall and a 6-foot retaining wall holding back a hillside are essentially different projects with the same name.

    Drainage is the second-biggest factor, and it’s the one people underestimate. Poor drainage is the #1 reason retaining walls fail — water pressure builds up behind the wall and pushes it out of alignment or topples it entirely. Proper drainage (perforated pipe, gravel backfill, sometimes additional excavation to redirect water) runs about $60 to $70 per linear foot and isn’t optional on anything beyond a token garden wall.

    Other cost drivers: site access (a wall in a backyard that requires hand-carrying materials through a gate costs more than one a truck can back up to), soil type (rocky or clay-heavy soil is harder to excavate), existing wall removal if you’re replacing a failing one, and length — longer walls benefit from some economy of scale but also mean more total drainage and excavation work.

    Realistic Total Cost Range

    Put together, the average retaining wall project costs around $6,000, with most homeowners landing somewhere between $3,200 and $9,200 depending on material, height, and site conditions. A short timber wall under 3 feet with easy access can come in well under $2,000. A tall, engineered concrete block or natural stone wall on a difficult slope can run $15,000 or more once permits, engineering, and drainage are factored in. As with most structural exterior work, actual costs vary a lot by region and contractor — get at least three quotes before committing, and make sure each one explicitly includes drainage and, if applicable, engineering and permit costs, not just materials and labor. How material, height, and site conditions combine to spread that $3,200–$9,200 range is the kind of detail covered in How We Estimate.

    Estimate Your Retaining Wall Cost

    Plug in your wall’s approximate length and height and pick a material to get a ballpark range. This is a rough planning estimate, not a quote — actual pricing depends on your site, region, and contractor.

    Retaining Wall Cost Estimator

    Practical Tips Before You Build

    • Don’t skip drainage to save money. It’s the leading cause of wall failure, and fixing a collapsed wall costs far more than doing drainage right the first time.
    • Check your local height threshold before you design anything. If you can keep a wall under your city’s permit trigger (often 3–4 feet) by terracing it into two shorter walls instead of one tall one, you may avoid engineering costs entirely — ask a contractor whether terracing works for your slope.
    • Get it in writing. Ask each quote to break out materials, labor, drainage, and (if applicable) engineering and permits separately, so you’re comparing apples to apples.
    • Think about what’s uphill and downhill. A wall retaining soil near a foundation or driveway carries more liability than a garden-bed wall, and contractors should price accordingly — don’t assume a low bid on a structural wall is a good deal.
    • Pair it with other sloped-yard fixes. If erosion is the underlying problem, a retaining wall alone sometimes isn’t enough — regrading, gutter extensions, or French drains may need to be part of the plan.

    As with any structural project, get at least three local quotes, confirm licensing and insurance, and don’t let anyone skip the drainage plan to hit a lower number.

    More Cost Guides

  • Gutter Installation Cost Per Linear Foot by Material (2026)

    Gutter Installation Cost Per Linear Foot by Material (2026)

    $1,200 to $5,000 is the typical spread for a full gutter job, with material choice alone stretching per-foot rates from $3 for vinyl to $20 for premium steel. Gutters don’t get much attention until they fail — and when they do, the damage shows up somewhere much more expensive than the gutters themselves: rotted fascia, a soggy foundation, or a flooded basement. Replacing or installing a gutter system is one of the more affordable exterior projects on a house, but the price swings a lot depending on material, home height, and roofline complexity. Here’s what actually goes into the number.

    What the project involves

    Gutter installation means removing any old gutters (if present), mounting new hangers along the fascia board, running gutter sections around the roofline, sealing seams and corners, and connecting downspouts that carry water away from the foundation. Most homes need somewhere between 150 and 250 linear feet of gutter, with a typical 2,000-square-foot single-family home landing around 200 feet. If your home recently had new asphalt shingle or metal roofing installed, this is also the natural time to replace gutters, since the roofer’s crew is already up there and drip edge work overlaps with gutter mounting.

    Cost breakdown by material

    Material is the single biggest lever on price, and it’s not just about the sticker cost per foot — it’s also about how the gutters are fabricated.

    Gutter installed cost per linear foot by material, 2026
    MaterialInstalled cost per linear ft
    Vinyl (sectional)$3–$5
    Aluminum (seamless)$6–$11
    Steel / galvanized$8–$20

    Vinyl (sectional)

    Vinyl gutters run about $3–$5 per linear foot installed, or less if you DIY it — vinyl is sold in pre-cut sections that snap together, making it the only material realistically installable by a homeowner with basic tools. The tradeoff is more seams (more potential leak points) and a tendency to crack in freezing climates, so it’s better suited to moderate climates and budget-driven projects.

    Aluminum (seamless)

    Seamless aluminum is the most common choice for professional installations, running $6–$11 per linear foot installed. A specialized truck-mounted machine forms the gutter on-site in one continuous piece per roofline run, which is why seamless aluminum is essentially a pro-only job — most homeowners can’t rent that equipment. For a typical home, expect $900–$2,400 installed for aluminum alone, before downspouts and add-ons.

    Steel / galvanized

    Steel gutters cost $8–$20 per linear foot installed, reflecting both material cost and the extra labor steel requires (it’s heavier and less forgiving to work with than aluminum). Steel holds up better under heavy snow load and ladder impacts, which is why it shows up more often in colder climates and on homes with tall, steep rooflines.

    Downspouts and gutter guards

    Downspouts aren’t optional — without them, water just pools at the gutter’s low point. Budget roughly $50–$150 per downspout installed, and plan on one downspout for every 30–40 feet of gutter run, so a typical home needs 4–6 of them.

    Gutter guards are a common add-on that homeowners weigh against the labor cost of climbing a ladder twice a year to clear leaves. Basic mesh or screen guards run $7–$15 per linear foot, while premium reverse-curve or micro-mesh systems can run $20–$45 per linear foot — on a 200-foot home, that’s the difference between roughly $1,400 and $9,000 just for guards, so it’s worth getting a firm quote before assuming “gutter guards” means one price point.

    What drives the total price up or down

    A few factors explain most of the spread between a $1,200 quote and a $5,000+ one: How we weigh those factors into the range between a $1,200 quote and a $5,000+ one is explained in How We Estimate.

    Home height and roof complexity. A single-story ranch with a simple rectangular roofline is fast and cheap to gutter. Multi-story homes require ladder work or lift rental, and rooflines with dormers, multiple valleys, or lots of corners mean more seams, more miters, and more labor hours.

    Removal and disposal. Tearing off old, failing gutters — especially old steel ones bolted directly into the fascia — adds a line item most quotes fold into a “removal” fee, typically $1–$3 per linear foot.

    Fascia board condition. This is the wildcard. Gutters mount to the fascia board, and if a contractor finds rot once the old gutters come down (a common discovery, especially near corners and behind gutters that have been overflowing for years), fascia repair or replacement gets added to the job — sometimes a few hundred dollars, sometimes well over a thousand depending on how much has to be replaced. It’s worth asking your contractor to flag this possibility before work starts rather than after your gutters are already off the house.

    Seamless vs. sectional. Seamless systems cost more up front but leak less over time since there are fewer joints — factor that into a strict apples-to-apples comparison against vinyl’s lower sticker price.

    Realistic total range

    For a typical single-family home with average height and a moderately complex roofline, plan on $1,200–$4,500 for a complete gutter and downspout installation, with mid-range aluminum landing around $4,000 for a full replacement including removal. Add gutter guards and that range can climb toward $6,000–$9,000 depending on the guard system chosen. As with any exterior project — similar to siding or window replacement costs — these figures vary meaningfully by region, contractor overhead, and local material pricing, so treat them as a planning range rather than a quote.

    Practical tips

    Get at least three quotes, and make sure each one specifies material gauge (thicker aluminum resists denting and oil-canning better), seamless vs. sectional, and whether removal/disposal of old gutters is included. Ask specifically whether the quote assumes standard fascia condition or includes a contingency for repair — that’s the line item most likely to cause a surprise change order. If your home is a single story with a simple roofline and you’re comfortable on a ladder, vinyl sectional gutters are a genuinely reasonable DIY project; for anything taller or more complex, seamless aluminum installed by a pro is usually the better value once you account for the leak risk of extra seams. Most jurisdictions don’t require a permit for gutter replacement since it’s non-structural, but it’s worth a quick call to your local building department to confirm before work starts.

    Estimate your gutter installation cost

    Use the calculator below for a rough estimate based on your home size and material choice. This is a planning estimate only — get a firm quote from a local contractor before budgeting.

    Estimate only — actual costs vary by region, contractor, and home condition. Get multiple local quotes before budgeting.

    If you’re handling this yourself, the materials are the easy part to source — current options and pricing for gutter guards will depend on your material and the size of the job.

    More Cost Guides